Posts mit dem Label Maybelline werden angezeigt. Alle Posts anzeigen

Montag, 5. Oktober 2015

Mandala Stamping

Hello Beauties!

I am still alive! Thank you for your patience this last week. My internet connection suddenly went down a week ago and it took the cable company forever to send over a techinician. This morning they made final adjustments and as you can see I am back online! Yay! :-D It feels so good.
Today I want to show you a manicure I did on p2 - be my guy that I first shared with you about two weeks ago. I used Maybelline - Gold All Night to stamp on the blue and glittery background.
The image I was using on all of my nails is the left carriage wheel. I find the design very appealing. It reminds me of a mandala with its symmetric pattern.
The design did transfer very well, but on my indexfinger it partially stuck on the stamper.I still am happy with this manicure. In real life it looked even better than it does in these pictures. The contrast between the blue and gold and even between the glitter and gold was higher. The flash from the camera reflected on the golden polish and makes it a bit hard to see.
To add some depht to my design I decided to place light blue rhinestones to the center of the pattern on each nail. The design looks kind of like the suns I used to draw when I was a kid. (Okay, I still do, when I am painting with my niece and nephew...)
I hope you are alright and had a good week and weekend. I have to do some serious blog reading and catching up this week. Being offline for 8 days is terrible! I even missed to blog about my September favourites, but I will still do that sometime this week.

I hope you do like this design as much as I do. Does it remind you of a mandala too?

You may also like:

Donnerstag, 17. September 2015

Animal Print Series - Black Tiger

Hello Lovelies!

How are you today? The weekend is almost here - you nearly made it! Hurray :-D Today I want to share with you another Animal Print design. I saw similar pictures online and liked them a lot so I had to try it this way too. I think it is a bit more elegant and less girlie.
The base colour for this manicure is Maybelline Color Show - Mauve Kiss. I then added a stripe of black polish to approximately one third of my nails with L'Oreal - Black Swan. Using a fine nail art brush I created tiger stripes on the other part of my nails.
I don't know what it is with me, Animal Prints and matte top coat, but I added some to this manicure too. At first I was pretty pleased and wore it for a while, but I ended up adding a glossy topcoat again later. I simply didn't like the look of the matte finish anymore, especially on the black polish. I didn't take another picture though, but you get the idea of how it looks like glossy from the pictures above.


How do you like this design? Is this something you'd like to wear too?

You may also like:

Freitag, 7. August 2015

Midnight Gradient

Hello Sweeties!

 I bet you remember this weeks Monday Blues post on Maybelline - Violet Village. I wanted to add something sparkly and make it suitable for a Girls Night Out. I decided to make a Midnight gradient to wear on a Friday Night.
To do so I used another Maybelline Forever Strong polish and sponged it onto the tips of my nails. Also the name was very fitting for the manicure I had in mind. I used Midnight Blue for the gradient wich was actually in my very first blogpost ever.
Once everything was dry I added a layer of china glaze - Fairy Dust to create a starry sky before sealing it in with Seche Vite. For a momant I was thinking about adding another glitter with some bigger hexes to make some brighter stars, but I actually was already satisfied with the way this manicure looked.

Same as in my post about Violet Village I had trouble catching all the beauty of this manicure on camera. There was too much gloss, shimmer and sparkle to proberly show everything, but I guess you get the picture anyway.


Have a wonderful weekend! I hope you like this manicure and are prepared for a fun friday night.

You may also like:

Montag, 3. August 2015

Maybelline Forever Strong - Violet Village

Hello Loves!

How was your weekend? I was busy packing for my vacation and we drove to out first stop yesterday Morning. This means I am currently in Berlin and that this is a scheduled post. I'm usually not big on the Monday Blues, but this polish is so pretty that I couldn't resist sharing it early this week and thought why not participate! 
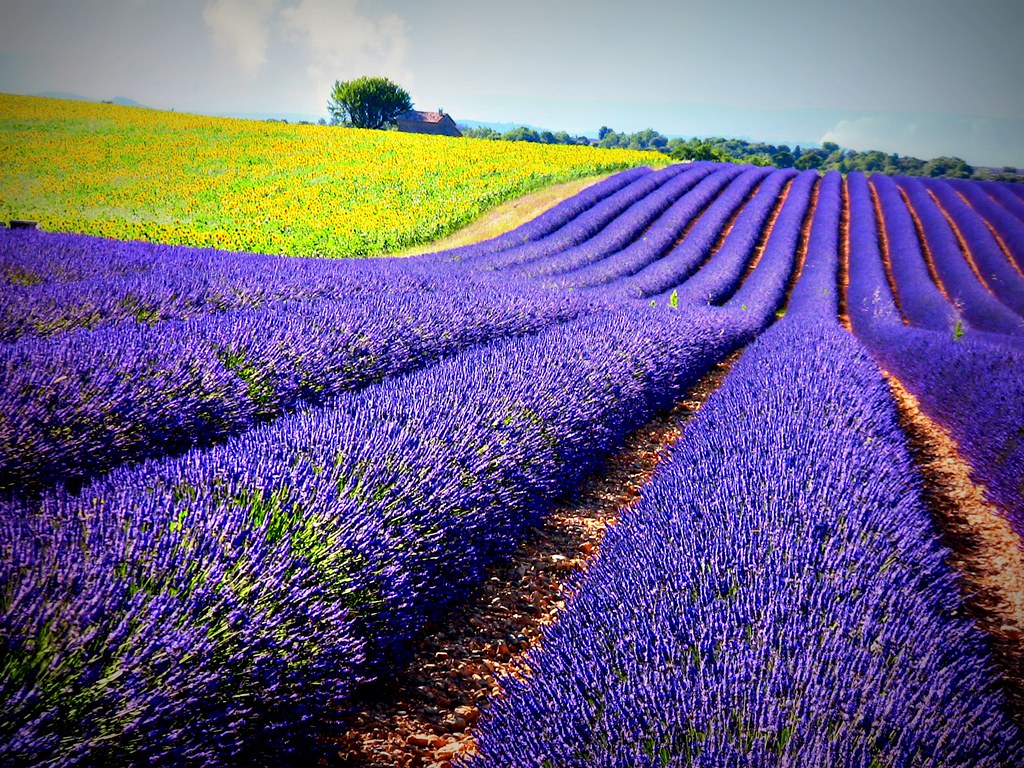
This is Maybelline Forever Strong - Violet Village (645). It is a bluish lavender creme polish with an amazing lilac shimmer. It reminds me of a summer in Provence (South France) whith all the beautifully blooming lavender fields. I bet whoever made this polish had that in mind!
Found on Google.
The formula is excellent and applies smoothly. It required absolutely no clean-up and was perfectly opaque in two coats. The drying time on this polish was good too. Once I was done with all my fingers the first one was dry enough for the second layer. No waiting time at all.
I love how shiny and shimmery it is all by itself, but to protect this beautiful colour I added Seche Vite before I took the outdoor pictures below. This makes each and every manicure super glossy. Unfortunately in this case it caused that the shimmer didn't photograph anymore. I tried avery possible angle, but my camera was overwhelmed by the glossy shine and was unable to capture the soft shimmer underneath. My bad. In real life it was still there though!
I didn't have any direct sunlight the day I took these pictures. Maybe it would have helped with the pictures. 

I still am amazed with this lovely colour. I can almost smell the sun on my skin walking through a flourishing lavender garden in a small french village. A Violet Village! :-)

Do you own any polishes that give you a holiday sensation or flashback? I hope you like this polish as much as I do!

You may also like:

Please leave your comments as usual. I will probably read them during my vacation and will try to answer them if possible!


Montag, 20. Juli 2015

Strawberries & Maybelline - Red Seduction

Hello Sweeties! 

After doing the Cherry Manicure this weekend I decided to go with another of my favourite fruits and do a Strawberry Manicure. Unfortunately we already ate all the delicious berries and I had none left to take pictures with, but I still like this manicure a lot for summer!
Before we get started let me show you a few swatches of the main colour I used for this manicure. This is Maybelline Express Finish - Red Seduction (530).
Red Seduction is a creamy luscious red polish with a smooth texture, that is easy to apply and has almost perfect coverage with one coat. Just to make sure it looks right in the pictures I used two coats, wich even intesified the colour. It is a deep red, that truly looks amazing. It goes well with my skintone and I guess it will go well with any type of skin. 
For these swatches I did not use a topcoat and see how glossy it is! I love a polish with a great shine. And it dries pretty fast too. I can not say that it was exactly 40 seconds as displayed on the bottle, but it was very quick wich was perfect for the manicure I had in mind. And futhermore the name of this polish was also perfect to go with todays mani. Aren't Strawberries one of the most seductive fruits ever? I mean even thinking about them right now makes me smell that yummie goodness and my mouth water! :-D
But enough of that, or I'll get hungry again... 
First let me show you all the polishes I've used. 
Next to Red Seduction I've used Maybelline - Cherry (I'm holding that bottle in my hand in the very first picture!) to create the perfect Strawberry. I sponged it on mainly to the tip of my nails to create a more natural look. There is no fruit with only one shade of red, right? 
Then I used a dottingtool and made the strawberry leaves. I used Wet 'n Wild - French White Creme as a base and then went in again with s-he stylezone - 310 and a bit of 315.
For the dots I used Wet 'n Wild - Black Creme mixed with a tiny bit of French White Creme, p2 - start me up and the two greens. I put a drop of all these colours on a piece of paper and randomly dabbed in my dotting tool to get a slightly different mixture every time. I think this is a great way to get the most natural look possibly.

Last but not least I sealed my manicure in with Seche Vite, wich brings the colours together and to life. Without topcoating a mani like this it looks kind of unfinished and also your hard work could so easily be ruined.
I hope you like my little Strawberries and have a wonderful summery week ahead of you!

You may also like:

Samstag, 18. Juli 2015

Cherries

Hello Sweeties!

Happy Saturday! Do you like cherries? I love them. They are sweet and juicy and simply delicious. They also inspired me to do this manicure. Yummie! :-)
As a base I used two coats of Wet n' Wild - French White Creme and let it dry for a few minutes.
Then I used a dotting tool to apply Maybelline Express Finish - Cherry (505). With a small nail art brush I added the stems and leaves. I used a lighter and darker green as well as a little bit of brown polish to make it look more natural. I applied a bit of all polishes on a piece of plastic and dabbed my brush in randomly.
As a last step I added small white dots to my cherries and sealed the whole design in with a layer of Seche Vite.


And then I went to the fridge and took some pictures with these yummie cherries! Have you ever seen a four-piece cherry? I know the doubles and even triples, but quadruplets? Anyway, they were so tasty! :-D
Did you eat a lot of cherries this year?
How do you like this inspired fruity manicure? Doesn't it look scrumptious?

You may also like:

Samstag, 11. Juli 2015

Rainbow Gradient for Christopher Street Day

Hello Lovelies!

Happy Saturday! Do you have any plans for the weekend? I am going to hit the road in a few minutes to go to Austria to celebrate my mum and aunts birthday. I decided to stay there for a couple of days, but don't worry, I have a few blogposts scheduled for that time. So make sure to stop by!
Today is Christopher Street Day here in Munich and therefore I want to show you a colourful rainbow manicure. 
As usual when working with bright colours I started this manicure with a white base - two coats of china glaze - White on White - , and let that dry for a while. To avoid making a mess around my cuticles I taped my fingers with some scotch tape.
Then I sponged on the gradient nail by nail with my make-up sponge. I repeated this step until I was happy with the opacity, wich was about three to four times depending on the colours. For cleanup all I had to do was to remove the tape and it was almost done. There were only a few spots where I had to go in with a flat brush and some polish remover.
To blend the colours together even better I added a layer of china glaze - Fairy Dust. My favourite nail is the indexfinger. I accidentally turned around the sponge and put the colours on to the wrong side. I think in the end this really helped blending them together. You hardly can say where yellow starts and orange ends...
Let me show you the polishes I've used. 
Maybelline - Power Red - Nyx - Pop Culture & My Sunshine - essie - vice versa & mesmerized - Maybelline - Purple Gem. 

As a finishing touch I added a rhinestone in the fitting colour to each nail and sealed it in with Seche Vite Dry Fast Top Coat.
I love how these turned out! Perfect to wear today.

How do you like this manicure? Would you like to recreate it?

You may also like: