Posts mit dem Label dottingtools werden angezeigt. Alle Posts anzeigen

Samstag, 18. Juli 2015

Cherries

Hello Sweeties!

Happy Saturday! Do you like cherries? I love them. They are sweet and juicy and simply delicious. They also inspired me to do this manicure. Yummie! :-)
As a base I used two coats of Wet n' Wild - French White Creme and let it dry for a few minutes.
Then I used a dotting tool to apply Maybelline Express Finish - Cherry (505). With a small nail art brush I added the stems and leaves. I used a lighter and darker green as well as a little bit of brown polish to make it look more natural. I applied a bit of all polishes on a piece of plastic and dabbed my brush in randomly.
As a last step I added small white dots to my cherries and sealed the whole design in with a layer of Seche Vite.


And then I went to the fridge and took some pictures with these yummie cherries! Have you ever seen a four-piece cherry? I know the doubles and even triples, but quadruplets? Anyway, they were so tasty! :-D
Did you eat a lot of cherries this year?
How do you like this inspired fruity manicure? Doesn't it look scrumptious?

You may also like:

Donnerstag, 16. Juli 2015

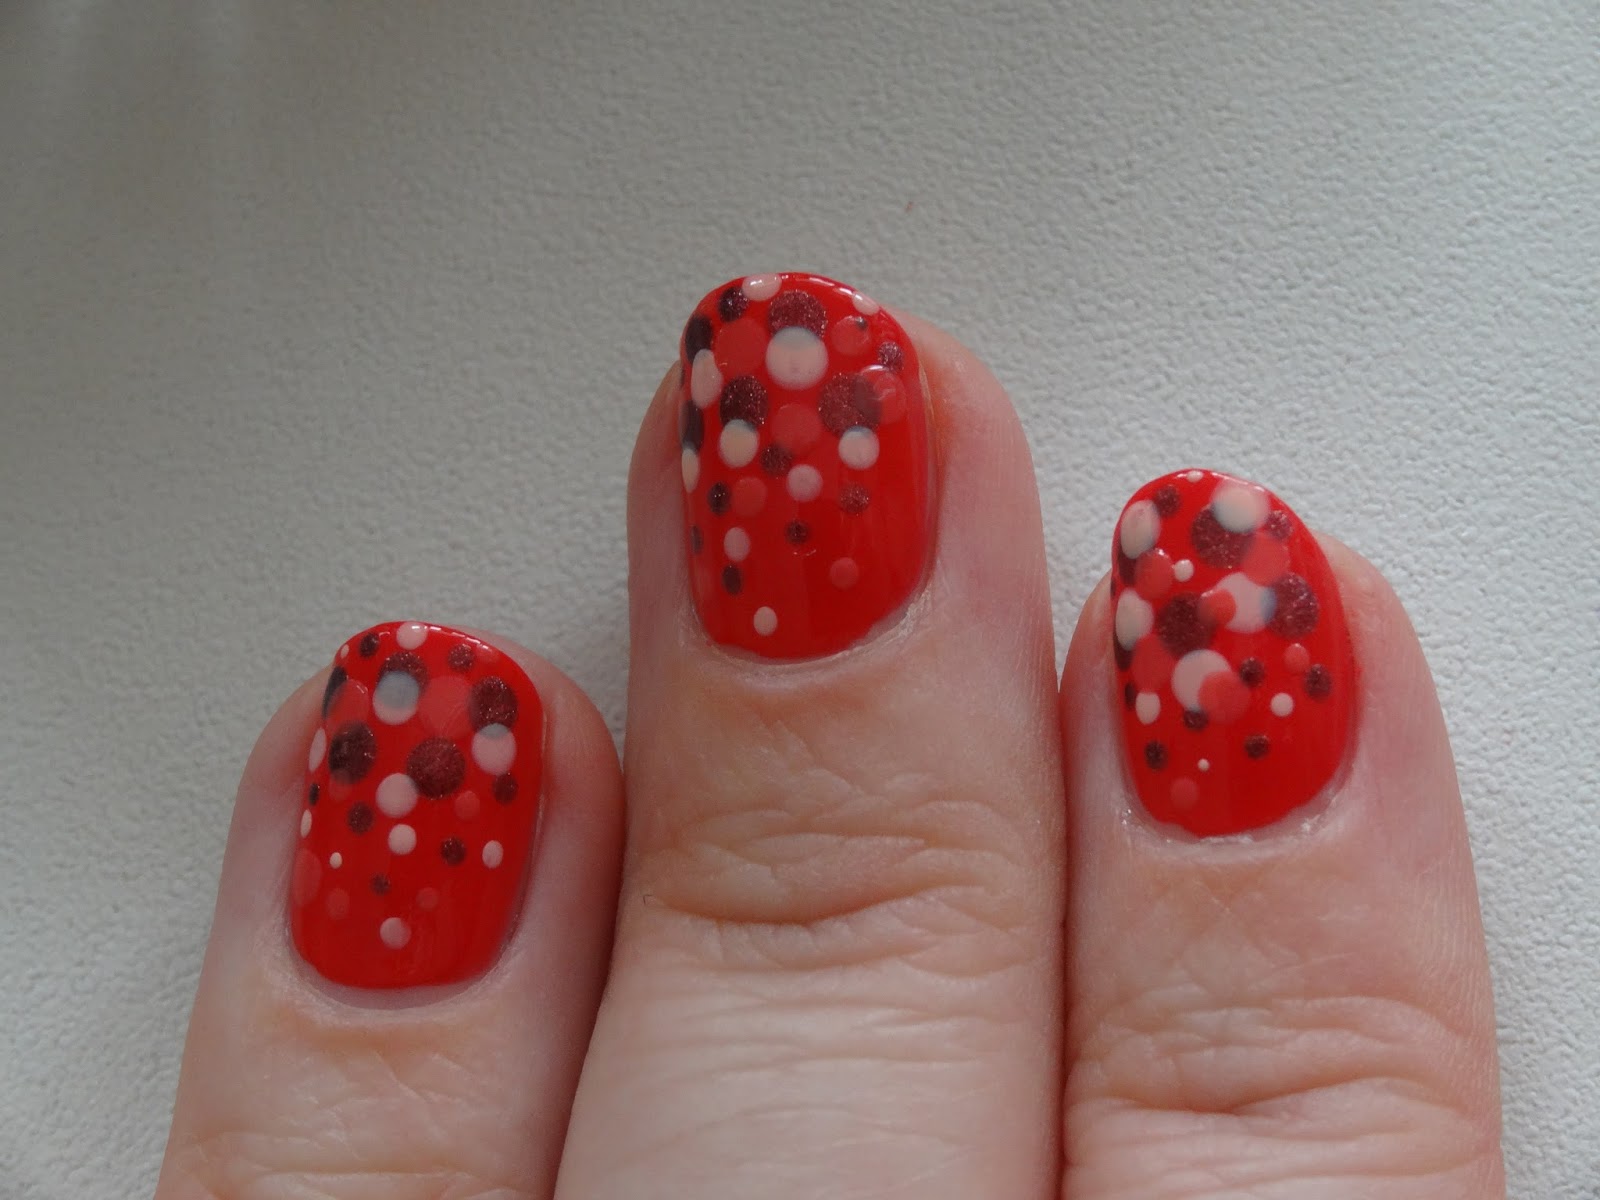
Dotted Gradient & Ombre Top Coat

Hello Lovelies!

I am back from Austria and I bought new polishes! I will show them to you in a few days when I had a chance to take some pictures. Today I want to show you another gradient manicure wich I totally love lately, but this time it is not a sponged gradient but a dotted one.
As my base for this manicure I used p2 - sashimi ship and added these other p2 shades.
before sunrise - lovely madness - dress + go!
First I made some dots with the larger side of my dotting tool concentrating in the tip area of the nail and then used the smaller side to make little dots and let them fade out going farther down. This creates the gradient and is really easy.
Make sure to let each colour dry a little before applying the next. You want to overlap the dots and they should not get all mixed up.

To blend all my colours together perfectly I added a layer of Seche Vite. I love how glossy the manicure looks now.


I then added the Ombre Top Coat by catrice. But it did not work as well as I was hoping. The colours I used for this manicure are to dark to see the effect properly. If you look closely there is a difference between my thumb (where I did not use the topcoat) and my pinkie (with four layers of the top coat). My pinkie is darker. This is manily visible on the rosy dots of lovely madness.
This topcoat actually is a cool way to do an ombre manicure, but you have to use pastel colours in order for it to show the best results.
Left: indoors with a flash. - Right: outdoors in natural light, no flash.

In my opinion this is a fun and super easy way to make gradient nails and it is a good alternative to a sponged manicure especially for shorter nails where sponging can be quite messy.

I hope you like this manicure! Have you ever done a dotted gradient?


You may also like:

Samstag, 7. März 2015

100 Follower Giveaway

Hello Beauties!

I am happy to have reached 100 followers on twitter. A few days ago I announced that I will have a little giveaway once I've reached this milestone. So here it comes:
3 nailpolishes, 3 dotting tools, nail art stickers, mascara
Maybelline - Express Finish 40 sec. - Fuchsia
Maybelline - Color Show - Electric Yellow & Ocean Blue
For these swatches I've used my polishes. You will win brand new doubles!
You will also get these beautiful nail art stickers and some basic dotting tools.
Lash Plumping Mascara - black by Yves Rocher
You can win all this by commenting below and telling me wich blogpost is your favourite (this one and guest posts excluded) and following me on twitter and bloglovin. Please leave your e-mail address so I can notify the winner!

One lucky winner will be picked via random.org. (A number will be assigned to you in the order you'll post your comment below.)
You can enter this giveaway until April 1st.

After Selecting the Winner:
Sometime on April 2nd or 3rd, I’ll notify the winner (chosen randomly by random.com) via e-mail. 
I’ll also announce it on some of my social-media platforms, as well as in this blog post before I notify the winner. The winner will have 48 hours to reply to my e-mail to claim the prize.
Failure to do so will force me to draw another winner.
What Happens Next?
The winner will send me their mailing address, and I’ll send the prize out ASAP.
Important Note:
Please add newpolishlover@gmail.com to your safe list so my e-mail doesn’t accidentally go to the Junk folder.

How You can contact me:
E-mail: newpolishlover@gmail.com
Twitter: @newpolishlover
Bloglovin: polishlover
Facebook: Newpolishlover give me a like if you like what you see! :-D
Google+: Pia R.

Want to boost your chances to win something? Check out this competition too! http://goo.gl/UCWnSg

UPDATE: (2.4.15) thank you all for your entries! The winner will be chosen by noon. I will do a separate post on that!