Posts mit dem Label gold werden angezeigt. Alle Posts anzeigen

Montag, 5. Oktober 2015

Mandala Stamping

Hello Beauties!

I am still alive! Thank you for your patience this last week. My internet connection suddenly went down a week ago and it took the cable company forever to send over a techinician. This morning they made final adjustments and as you can see I am back online! Yay! :-D It feels so good.
Today I want to show you a manicure I did on p2 - be my guy that I first shared with you about two weeks ago. I used Maybelline - Gold All Night to stamp on the blue and glittery background.
The image I was using on all of my nails is the left carriage wheel. I find the design very appealing. It reminds me of a mandala with its symmetric pattern.
The design did transfer very well, but on my indexfinger it partially stuck on the stamper.I still am happy with this manicure. In real life it looked even better than it does in these pictures. The contrast between the blue and gold and even between the glitter and gold was higher. The flash from the camera reflected on the golden polish and makes it a bit hard to see.
To add some depht to my design I decided to place light blue rhinestones to the center of the pattern on each nail. The design looks kind of like the suns I used to draw when I was a kid. (Okay, I still do, when I am painting with my niece and nephew...)
I hope you are alright and had a good week and weekend. I have to do some serious blog reading and catching up this week. Being offline for 8 days is terrible! I even missed to blog about my September favourites, but I will still do that sometime this week.

I hope you do like this design as much as I do. Does it remind you of a mandala too?

You may also like:

Dienstag, 15. September 2015

trend IT UP - Holo Dimension 040 & Autumn Leaves

Hello Sweeties!

Happy Tuesday! How are you today? Finally I am back with a manicure I did recently. This one is actually from last week and I thought I was getting prepared for autumn by doing a Leave Manicure.
First let me show you the polish I used as a base for this manicure. It is one from a brand I've never tried before because it is new. It is called trend IT UP and is a drugstorebrand from dm. (dm is my favourite drugstore and actually is short for Drogerie Markt the german word for drugstore.) I think I already posted a link when I showed you my Berlin haul.
So this is 040 from their Holo Dimension line. 040 is a golden crelly polish with beautiful shimmery flakies in it. I wouldn't say it is a holographic polish, but it is mesmerizing and will have you look at it all the time. 
Even though the golden base colour is really pretty the most amazing thing about this polish is how the colour shifts from a green to a coppery red shimmer with hints of blue in between. I could not capture all of its beauty on camera, but you can see the copper tone in the picture below and some green in the bottle shot above.
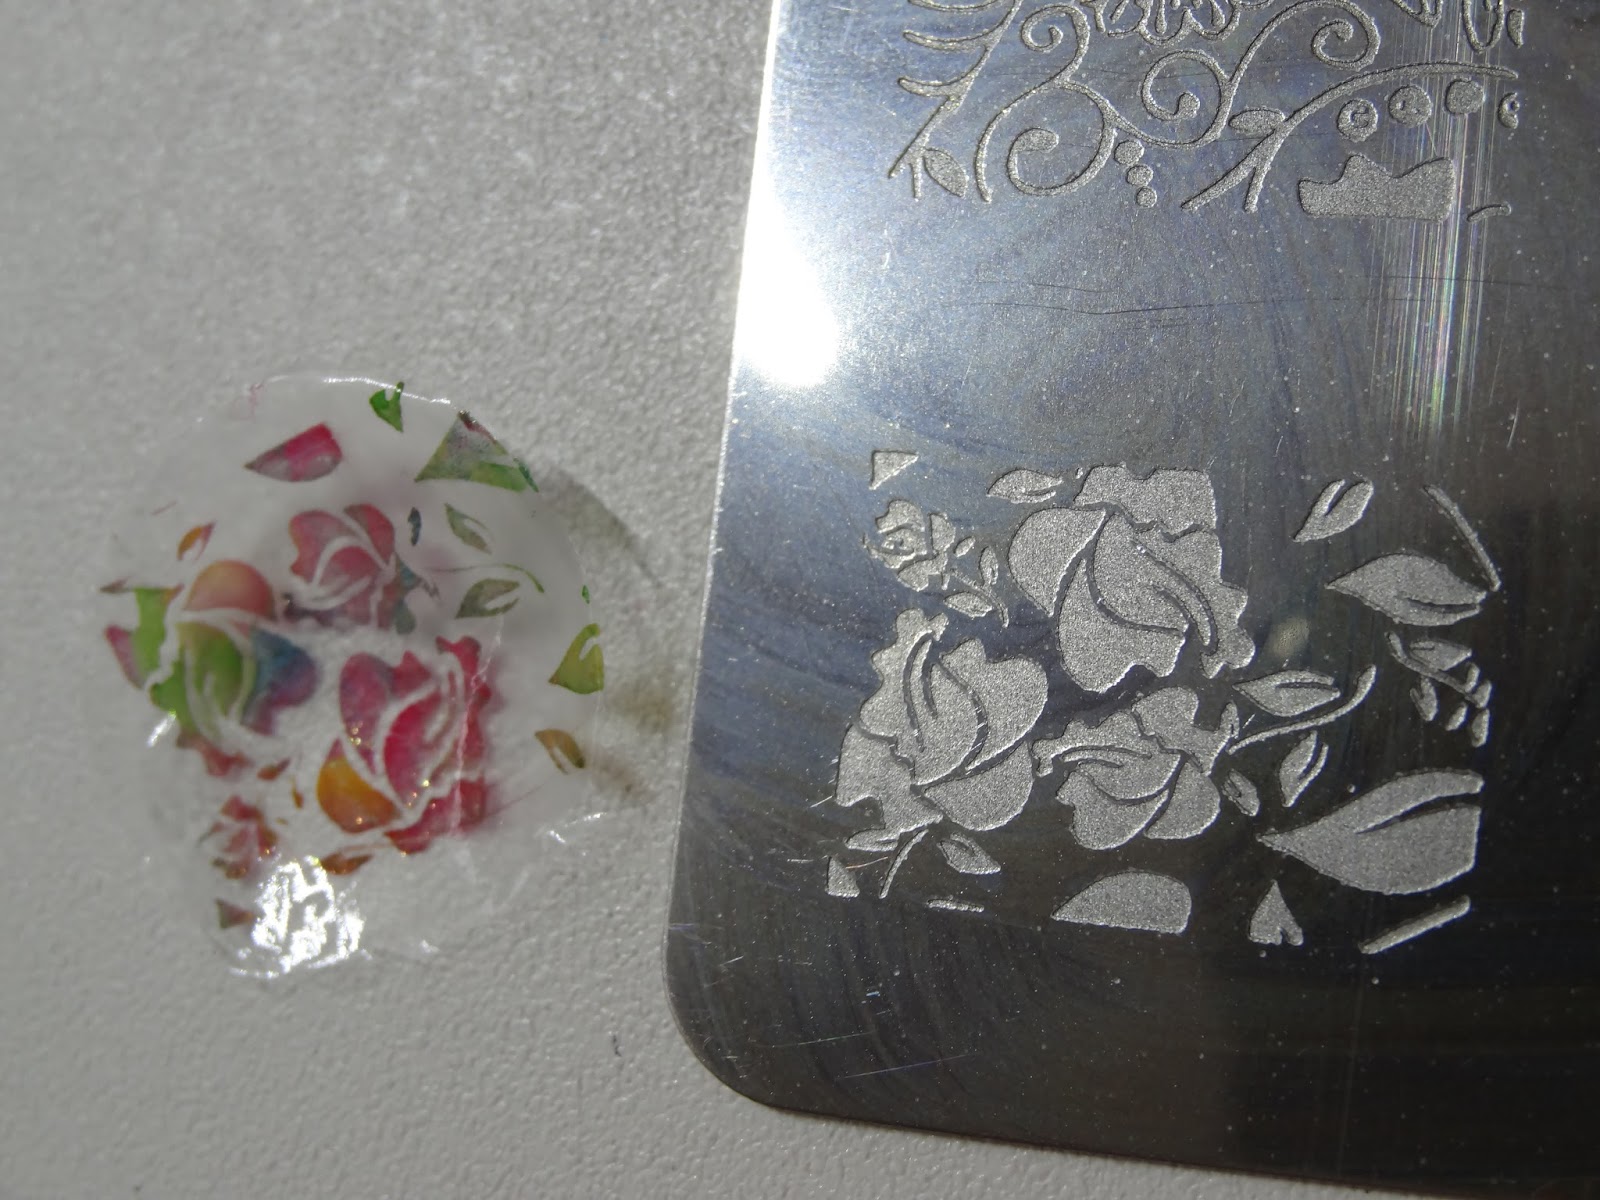
I then decided to use different colours of stamping polish that I got in my Born Pretty Store Haul and add a leave design to my nails to give them the autumn look. I first tried making a decal as you can see below, but I ended up with simply stamping directly on my nails wich worked perfectly.
As you can see I used some red and yellow as well as a light and a darker green polish to stamp on my nails. I just applied a few drops of each colour to the pattern and scraped over it a few times. Not too often though or it would all end up in a brown mixture.
I finally sealed them in with Seche Vite to protect my design. I ended up wearing this manicure for four full days with only minor tipwear. The Holo Dimension polish really amazes me. They really did a great job with this new line. I love the formula and the durability.
As far as I'm concerned it's time for fall to come! I love it when the leaves are changing colour.
Are you ready for autumn to arrive? Have you done some fall manicures?
How do you like my stamped leaves?

You may also like:

Samstag, 12. September 2015

Manhattan Lotus Effect - 96G & Nail Art Stickers French

Hello Lovelies!

Happy Saturday! Since my SD slot is still not working I am showing you another older manicure today. I am not that happy with the result, but I really like the idea in general so here we go. I used some Nail Art stickers to create the final look, but first let me show you the polish on its own.

This is Manhattan Lotus Effect - 96G. I don't like polishes without names, but what can I do? :-) 96G is a pearly champagne creme polish with a hint of gold and a metallic finish. It applied smoothly and without too many visible brushstrokes, but took a while to dry. The formula is good and almost opaque with two coats depending on the light.
Since I was planning on applying some stickers that was good enough.

Here are the stickers I've used for this manicure. They are from a brand called Medis Sun Glow and I bought them about a year ago via Amazon. This was before I started my blog and I just dicsovered my love for nail art. I thought this was an easy way to get some glamour on.
And it is true, but I still like stamping more! You can play around with colour and different motives. For beginneres these stickers are highly recommendable.
I do like the design I used, but I was too imprecise in the execution. I dislike my Pointerfinger, the others are okay. The lace pattern is pretty cute.

How do you like this manicure? Do you use nail art stickers for your manicures?

You may also like:

Mittwoch, 9. September 2015

flormar nail enamel - 236

Hello Beauties!


How are you today? I am glad the sun is out again after a couple of rainy days. It is still quite cold in the morming, but that is fine. I just don't like the grey weather. It makes me want to stay in bed all day long! So today I am going to show you a manicure to weak everybody up (myself included!).
This bright orange creme polish is 236 by flormar. I have searched a lot for the name, but unfortunately I didn't find anything. I still love this polish. Look at that colour! It pops right into your eyes when you get a glimpse of it and when you look closely you can see the beautiful golden shimmer. The formula is excellent and similar to the other flormar polishes I've used so far. It is almost opaque with the first coat, but for perfect coverage I needed two. 
236 applied smoothly and required absolutely no clean-up. I love this summery and bright colour. It is even lovelier on the nails than it looks in the bottle. In direct sunlight this orange polish is so sparkly and reminds me a bit of a fire by the beach.
How do you like the combination with the tribal accent nail? Do you remember the other two variations with auburn and light blue? (I promis this is the last combination you will see!)
Isn't this a fantastic orange nailpolish? How do you like this colour?

You may also like:

Montag, 7. September 2015

Born Pretty Store - Holographics Set

Hello Lovelies!

How was your weekend? Are you ready to start into this new week? A while back I showed you my Born Pretty Store Haul. Unfortunately there were a few items missing. I finally received my set of 12 holographic polishes. They are numbered 1-12.
1 - 2 - 3 - 4 - 5 - 6 - 7 - 8 - 9 - 10 - 11 - 12
The first thing I did was naturally to put them on a display to see how the colours look like. Aren't they gorgeous? I can't wait to try them all. They are so damn sparkly.
Here are some more detailed looks at the bottles:
1 - 2 - 3 - 4
silver - pink - baby pink - red
5 - 6 - 7 - 8
orange - apricot - gold - blue
9 -10 - 11 - 12 
purple - light blue - violet - moss-green


How great are these colours? Do you own any of them? Wich one would you like to see on my nails soon?

You may also like:


Samstag, 29. August 2015

flormar - Golden Orchid

Hello Sweeties!

How are you on this wonderful Saturday? Today I want to show you another one of my newbies from my Berlin Shopping Spree (Day 1 & Day 2). I discovered a flormar store and the lady working there was a real sweatheart. She was looking at me with big eyes asking me why I was buying so many polishes and I told her that I am blogging about polish and simply had to buy all these beauties when I get the opportunity. (We don't have a flormar store in Munich!)

I paid for my polishes, packed them into my bag and off I was when I heard her asking what blog I am writing. It took me a few seconds to realise she was still talking to me and I turned around a few meters away from the store and went back in. We laughed about it and talked some more. I gave her the name of my blog and hopefully she will stop by one day and maybe even recognize herself in this blogpost. (If you do, leave a comment! ;-D)
But now let's get on to the polish, that's what you've been waiting for, right? This is flormar nail enamel - Golden Orchid (394). I used one coat of claire's - Cloud (an off white creme polish) as a base because I was not sure if Golden Orchid would have good coverage. And then I layered two coats of the golden, sparkly polish over it. It turnes out that I didn't really need the base. Golden Orchid has pretty good coverage on its own.
The formula is wonderful. It spreads evenly and dries pretty quick. I love how sparkly it is. The crelly golden base is packed with iridescent microglitter that shimmeres in all the colours of the rainbow.


As an accent I added some drop shaped rhinestones in form of a flower to my ringfinger and a little pink flower shaped one to my indexfinger. The blueish flower I did like, but the purple one was a bit too much, what do you think?


In direct sunlight the glitter stood out best. My camera couldn't capture all it's beauty. But I still think it looks fantastic in those pictures. Imagine how gorgeous it looks in real life! 
Have you ever tried flormar nail varnish? How do you like Golden Orchid? Is this a polish for you?

Donnerstag, 25. Juni 2015

Skittle Pond Mani


Hello Beauties!

I wanted to do a Pond Mani for a while now, but I somehow never did. And after doing the Skittle Mani a few weeks ago, I decided to combine those two and go with a Skittle Pond Manicure.

I actually did a few swatches and manis that day so there is a lot of polish on my table, but for this manicure I used the polishes in the front row. I started with a coat of Maybelline - Marshmallow (19), wich is a pearly white, to ensure good coverage. Then I used some glitter jelly polishes in different colours. I used Yes Love - G13-4, G13-5 and G13-6, Wet 'n Wild 9.0.2.1.Orange and The Gold & The Beautiful in combination with OPI sheer tint I'm Never Amberrassed to make a yellow nail.
After the first coloured coat, I started do make a few large dots with my dotting tool using china glaze - White On White. Once the dots dried, I added another layer of colour. I did that about five or six times until I was satisfied with the coverage and depth. On my pinkie I alternated the gold glitter jelly with the OPI tint. I also used different sized dotting tools to get a mixture of small and big polkadots.

A Pond Manicure is a lot like a Jelly Sandwich, but instead of the glitter you use polkadots between your coloured layers. Easy but time consuming.
At the end I sealed it in with Seche Vite to help it dry faster. You have to be really careful with a manicure like this. Due to the number of layers it is a bit squishy for quite some time. 
And here are a few mor pictures to show you my nails from all angles. It was pretty hard to catch the depth of this manicure in a picture.


My favourite nail is the green one, because you can see the different layers best here. But I actually love them all! :-D
I hope you like this manicure as much as I do!

Have you ever done a Pond Manicure? Wich colour is your favourite?

You may also like: