Posts mit dem Label green werden angezeigt. Alle Posts anzeigen

Dienstag, 6. Oktober 2015

Apricot Gradient & Desert Stamping

Hello Sweeties!

How are you today? I am sitting at my desk right now, looking outside at the beautiful trees that are changing their colour, a blue sky with some little white clouds and listening to the birds singing their songs. My cup of tea smells fantastic and I am happy to be typing again. So here is todays post. The apricot colours I used are lovely for spring and summer, but I also think they are gorgeous for a sunny autumn day like today.
I painted my nails with one coat of Rival de Loop - pastel look and then sponged on a gradient using pastel look (02) and sunny look (03). Without a topcoat it looks a bit gritty, but after I layered over some Fairy Dust from china glaze I really liked the result a lot.

The top coat always helps bringing together the colours and blends them to a wonderful gradient. The pastel apricot and the peachy shade look lovely as a gradient, don't you think?
I then decided to use my Born Pretty Store stamping plate BP-31 to do a little stamping on my nails, but first I created two accent nails, that reminded me of sand and totally underlined the egyptian theme I was planning to do. I removed the polish from my middle and index finger, applied a white base and used the golden/apricot holo polish #6 from my BPS Holographics Set.
To get the colourful design I used multiple stamping polishes that I all bought from Born Pretty Store recently. (Check out the full haul.) For the palm trees I mixed together some black, green and a bit of yellow as well as a metallic green stamping polish. My camel is yellow with some white and the pyramides are black with a touch of yellow, wich looks like there is sand sprinkled all over them.
I am super happy with my manicure. Only my middle finger is a disappointment. I waited quite some time before stamping and still the polish got smudged horribly. I still wanted to share it with you, because I think the colourful design is very cute and I wanted you to see the beautiful motives from the BP-31 plate I haven't used before. I actually bought this plate for the full nail designs in the middle, but as it turns out the otheres are wonderful too!
And here is one last look at my thumb nail. Here you can see the metallic green stamping polish I used. It looks a bit blue in this picture, but it's not. It actually has a lovely golden shimmer. When you remove the polish and swipe over with a cotton ball, the green colour vanishes first and leaves the golden paticles behind and you can still see your design. I will show you this stamping polish in a separate post. It is totally worthy of that!
How do you like my egyptian stamping design?

You may also like:

Sonntag, 27. September 2015

Green Glitter Gradient

Hello Beauties!

Happy Sunday! Sorry for my absence yesterday. There was just so much to do after a week of being sick, that I didn't have time to write a blogpost. Today I have to show you a beautiful fall manicure that I first intended to wear as an accent nail only but ended up doing on all my nails.

The green polish I used as a base is 210 from trend IT UP. It is from the same line as the apricot polish I swatched for you a few days ago. See the post here. And yes it is very smelly too! I really love the green colour with a hint of blue, but I guess I will not be using it anymore. I can not stand the smell.
It was however the perfect base to create a glitter gradient on. First I added a little bit of Holographic Pearls and then went over it with p2 - start wild!.
I really loved the look of this combination a lot and felt like doing a full glitter manicure.

And here is the result. It reminds me a bit of Christmas with all that sparkle, but I think it also looks great for fall.


I wish you all a happy Sunday. Enjoy the rest of your weekend and take care!

Hope you like this glitter gradient. Would you wear it in autumn?

You may also like:

Samstag, 19. September 2015

BPS Holo Polish #12

Hello Sweeties!

Happy Saturday to you! Today is the first day of Oktoberfest in Munich so the city is full of people. We haven't decided yet whether we are going there this afternoon or not. I guess it depends on the weather. 
Today I finally want to show you #12 of my Born Bretty Store Holographic Polish Set. I started with this polish because Andrea from Colour Your Life asked me to see swatches of this beauty.
In my overview post about the set I described it as a moss green, but it is more of a very deep and dark aqua. It reminds me of dark green emeralds as well as blue sapphires. The colour changes depending on the light. The darker it is the bluer it looks. And then there is this gorgeous holographic effect. you can see the whole rainbow at once. I love it. 
And the best part is it even photographes well. I usually have the problems that the holo effect doesn't transfer on the pictures. And look how it sparkles in direct sunlight! I promise you won't stop moving your fingers it you wear this polish so don't wear it to an important meeting or exam - it might distract you! ;-D
#12 has a really great formula. It applies smoothly and without any streaking. It dries quickly and to a slightly glossy finish, but I would recommend using a top coat to bring out the holo shimmer best. You'll need three coats to get full opacity, but the bottle is so small that I ceated and used a white base on nine of ma ten nails to get coverage in two coats. In retrospect I maybe should have used a dark green base colour, but I am happy with my result as it is too.
By the way the nail I used three coats on is my middlefinger. I think it is a bit more sparkly and shimmery than the rest, but that could also be my imagination! :-)


I did add a thin layer of Revlon - Holographic Pearls to my ringfinger as an accent, because I was curious how the different holos would look together. I can tell you it is an amazing combination, although it doesn#t look like much in the picture. My camera wasn't able to show the iridescent sparkle and the holo shimmer at once. In real life this looked fabulous!
I hope you like this polish as much as I do. Are you a fan of holos?

Dear Andrea I hope you are satisfied with these swatches and ca make up your mind about this polish! I bet it would suit you perfectly.

You may also like:

Dienstag, 15. September 2015

trend IT UP - Holo Dimension 040 & Autumn Leaves

Hello Sweeties!

Happy Tuesday! How are you today? Finally I am back with a manicure I did recently. This one is actually from last week and I thought I was getting prepared for autumn by doing a Leave Manicure.
First let me show you the polish I used as a base for this manicure. It is one from a brand I've never tried before because it is new. It is called trend IT UP and is a drugstorebrand from dm. (dm is my favourite drugstore and actually is short for Drogerie Markt the german word for drugstore.) I think I already posted a link when I showed you my Berlin haul.
So this is 040 from their Holo Dimension line. 040 is a golden crelly polish with beautiful shimmery flakies in it. I wouldn't say it is a holographic polish, but it is mesmerizing and will have you look at it all the time. 
Even though the golden base colour is really pretty the most amazing thing about this polish is how the colour shifts from a green to a coppery red shimmer with hints of blue in between. I could not capture all of its beauty on camera, but you can see the copper tone in the picture below and some green in the bottle shot above.
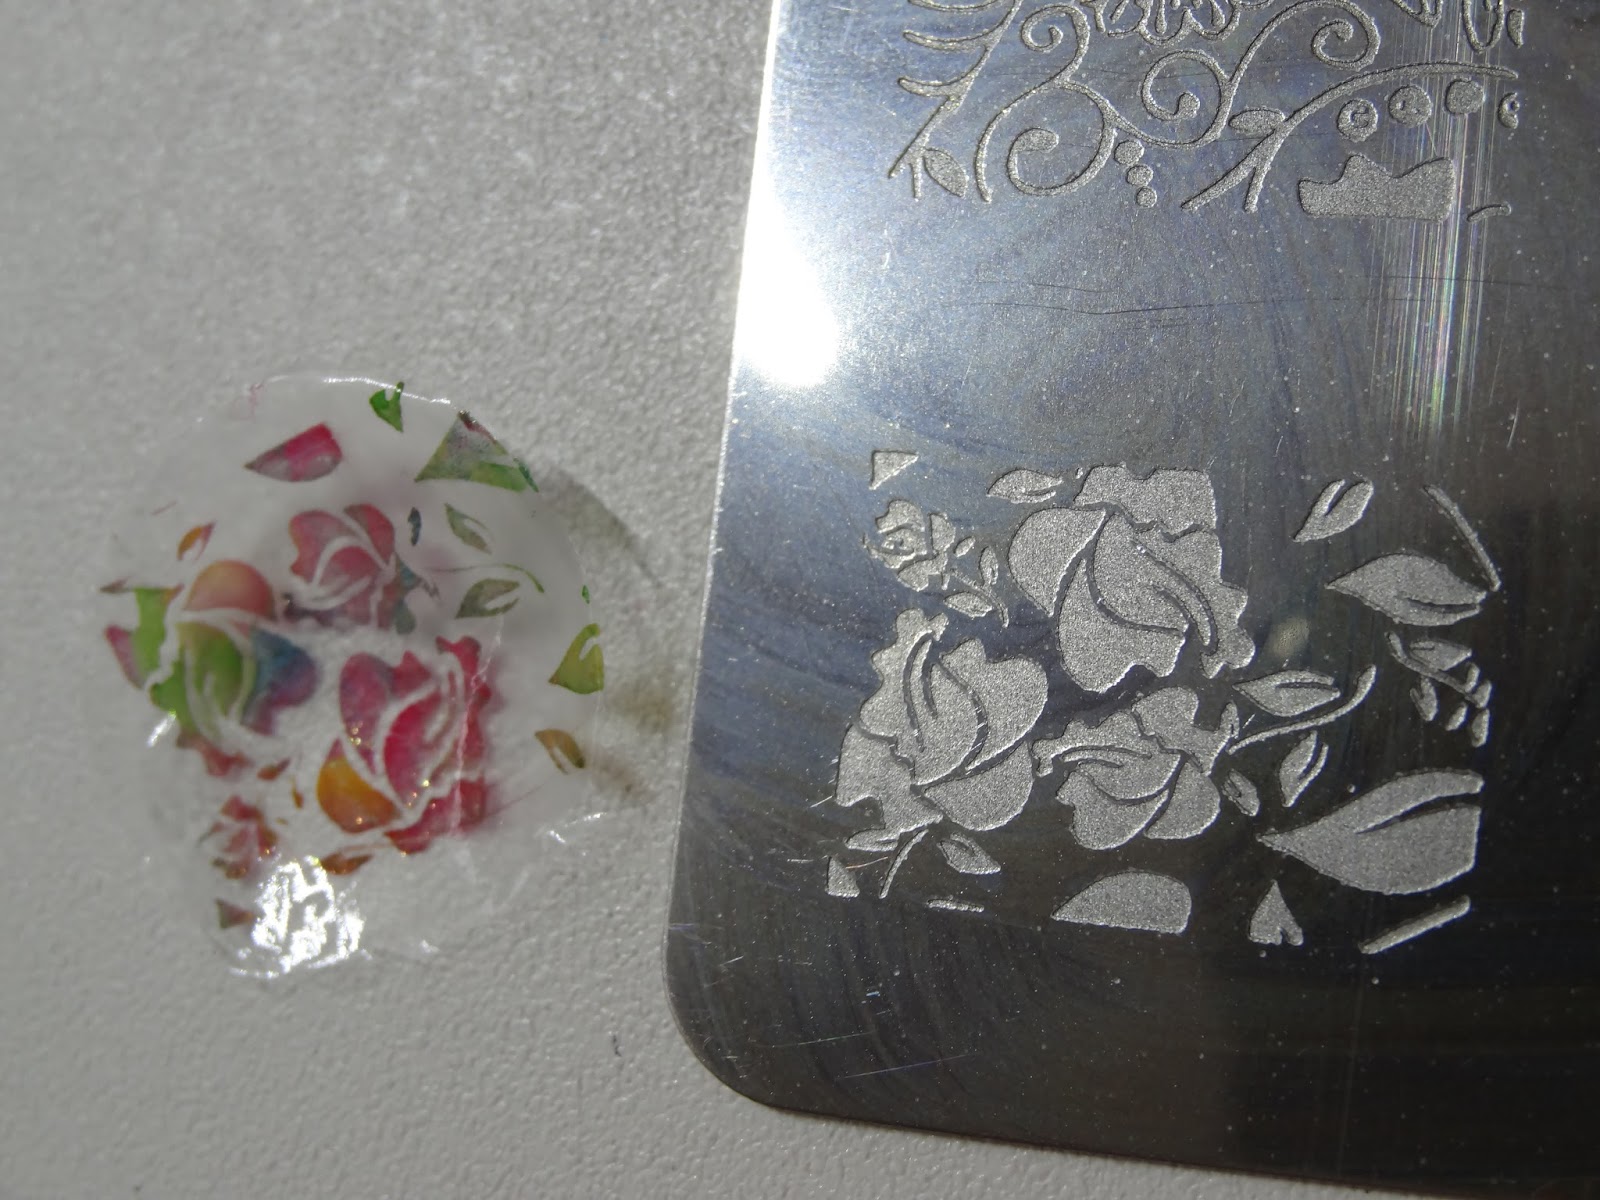
I then decided to use different colours of stamping polish that I got in my Born Pretty Store Haul and add a leave design to my nails to give them the autumn look. I first tried making a decal as you can see below, but I ended up with simply stamping directly on my nails wich worked perfectly.
As you can see I used some red and yellow as well as a light and a darker green polish to stamp on my nails. I just applied a few drops of each colour to the pattern and scraped over it a few times. Not too often though or it would all end up in a brown mixture.
I finally sealed them in with Seche Vite to protect my design. I ended up wearing this manicure for four full days with only minor tipwear. The Holo Dimension polish really amazes me. They really did a great job with this new line. I love the formula and the durability.
As far as I'm concerned it's time for fall to come! I love it when the leaves are changing colour.
Are you ready for autumn to arrive? Have you done some fall manicures?
How do you like my stamped leaves?

You may also like:

Montag, 7. September 2015

Born Pretty Store - Holographics Set

Hello Lovelies!

How was your weekend? Are you ready to start into this new week? A while back I showed you my Born Pretty Store Haul. Unfortunately there were a few items missing. I finally received my set of 12 holographic polishes. They are numbered 1-12.
1 - 2 - 3 - 4 - 5 - 6 - 7 - 8 - 9 - 10 - 11 - 12
The first thing I did was naturally to put them on a display to see how the colours look like. Aren't they gorgeous? I can't wait to try them all. They are so damn sparkly.
Here are some more detailed looks at the bottles:
1 - 2 - 3 - 4
silver - pink - baby pink - red
5 - 6 - 7 - 8
orange - apricot - gold - blue
9 -10 - 11 - 12 
purple - light blue - violet - moss-green


How great are these colours? Do you own any of them? Wich one would you like to see on my nails soon?

You may also like:


Samstag, 5. September 2015

Watermelon / Wet 'n Wild - SaGreena the Teenage Witch

Hello Lovelies!

Happy Saturday. Anything special planned today? I still am pretty much chained to the sofa. My foot still hurts and I can only walk on my toes wich looks actually quite funny (if it didn't hurt so much...).
Today I want to show you a manicure I did last week while it was still extremely hot, but even though autumn is slowly finding it's way back and it is getting cooler I still want to share this summer manicure with you.
The green I used for this manicure is Wet 'n Wild - SaGreena the Teenage Witch (E226C). It is a luscious emerald green with a soft metallic finish. The formula is excellent and leaves only very little visible brushstrokes. I used three coats for full opacity, wich dried very quick and were super easy to apply. 
For my accent nails I used this stamping plate (sadly I don't know a make and model. It's simply called 05). I transferred the watermelon design in the left cormer to my stampers and coloured it with SaGreena the Teenage Witch and OPI - Dinner At Sunset. I also added a little bit of Wet 'n Wild - Blazed to the tips of the slices.
I added a clear coat and let that dry before I peeled it off to place it on my nailes that I covered with two coats of claire's - Cloud. After trimming off the excess I added top coat to my nails.


I did have a few melon slices "leftovers" that I decided to add to my green nails to make this manicure perfect. I think it looks delicious and absolutely mouth-watering. I could really take a bite right now! :-D


I like the watermelon design a lot, but the pattern didn't transper perfectly. The seeds are so tiny they dry extremely fast and it is nearly impossible to get them all transferred perfectly. That is the only thing I don't like about it, so let's just say I stamped on seedless melons! :-D
How do you like this fruity manicure? Isn't this a lovely green?

My friend Andrea from Colour Your Life suggested that I should use bigger pictures for my posts. So this is what I did here. Please give me some feedback and let me know how you like the new picture size. Should I stick with it for the future, or should I try it one step smaller?
Have a wonderful weekend!

You may also like: