Posts mit dem Label flakies werden angezeigt. Alle Posts anzeigen

Freitag, 25. September 2015

kiko - Pearly Red & Fall Stamping

Hello Lovelies!

Happy Friday my lovely readers! I hope you are well and had a good start into the new season. I am feeling much better today too and am almost back to normal. So today I want to show you a manicure I created last friday and wore until Wednesday. I usually don't wear my manis that long, but this one was so pretty and I didn't feel like playing around with polish anyway. I guess another reason that it lastet this long is that I was too weak to use my hands for anything else than reading or handeling the remote controle... :-)
But before I go into details to the finished manicure let me take you there step by step and show you swatches of my base colour first. This is kiko - Pearly Red (492).
Pearly Red is not really a red polish. In my opinion it is a wonderful and intense orange (leaning towards vermilion) crelly polish, with lots of micro flakies in it. I find it quite hard to describe, but as you can see it is very sparkly and shiny. The colour is perfect for fall.
The formula of Pearly Red is fantastic. The first coat is quite transparent, but with the second coat it is opaque. The polish applies smoothly and spreads evenly. There was hardly any clean up to do.


I then used a make-up sponge to apply kiko - Vino Perlato (493) to the tips of my nails and create a gradient with it.
Vino Perlato is very similar to Pearly Red only in a deep red tone. This colour is amazing and I have to show it to you another time by itself.
To get an even finish I applied a layer of Seche Vite over my gradient.


I then used a black stamping polish and the heart design from the plate shown above to stamp on all of my nails. I tried to place the center of the design randomly across my nails to give the design a more natural look. The hearts remind me a bit of leaves.


To finish this manicure I applied another layer of top coat to my nails and added a small clear rhinestone to the center of my stamping. 
I love this look. The gradient and the design go so well together and the clear rhinestones add a little brightness to the manicure. After taking the pictures I did add another coat of Seche Vite to seal in my stones too.
I wish you a very happy weekend and hope you like my fall design. Do you like the colours for this season?

You may also like:

Dienstag, 15. September 2015

trend IT UP - Holo Dimension 040 & Autumn Leaves

Hello Sweeties!

Happy Tuesday! How are you today? Finally I am back with a manicure I did recently. This one is actually from last week and I thought I was getting prepared for autumn by doing a Leave Manicure.
First let me show you the polish I used as a base for this manicure. It is one from a brand I've never tried before because it is new. It is called trend IT UP and is a drugstorebrand from dm. (dm is my favourite drugstore and actually is short for Drogerie Markt the german word for drugstore.) I think I already posted a link when I showed you my Berlin haul.
So this is 040 from their Holo Dimension line. 040 is a golden crelly polish with beautiful shimmery flakies in it. I wouldn't say it is a holographic polish, but it is mesmerizing and will have you look at it all the time. 
Even though the golden base colour is really pretty the most amazing thing about this polish is how the colour shifts from a green to a coppery red shimmer with hints of blue in between. I could not capture all of its beauty on camera, but you can see the copper tone in the picture below and some green in the bottle shot above.
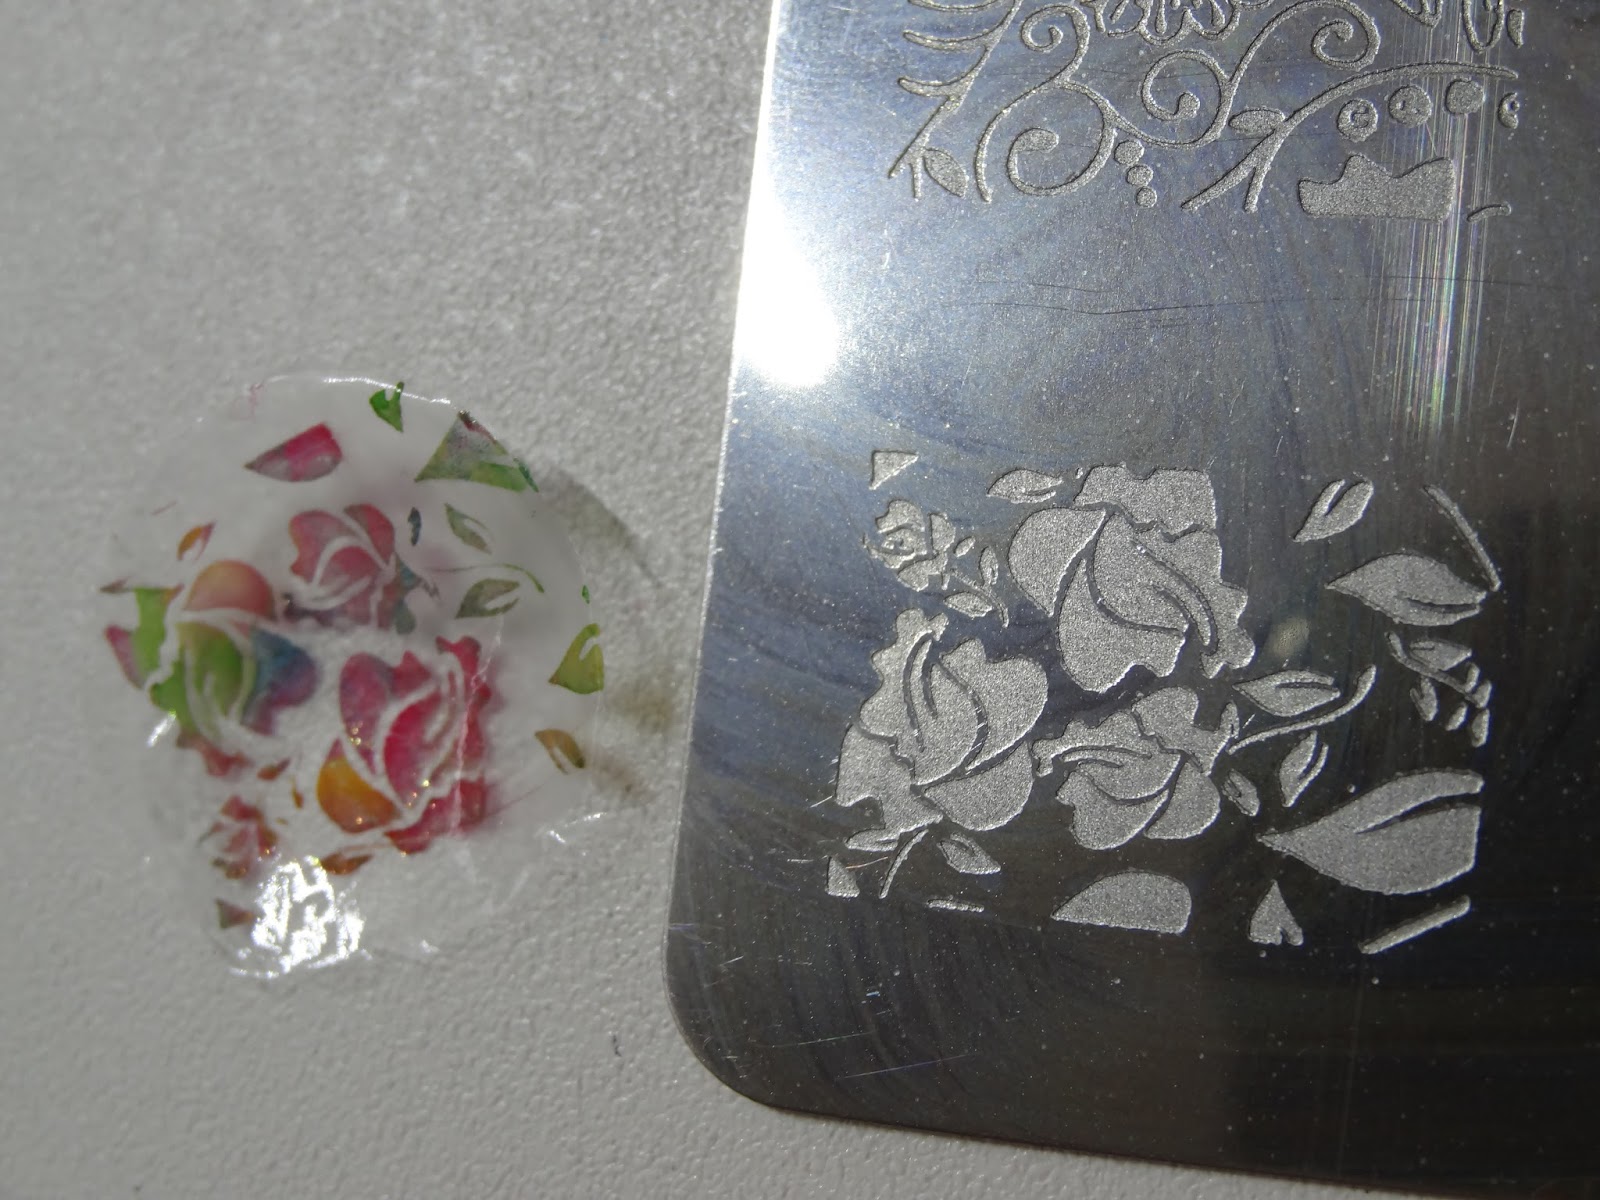
I then decided to use different colours of stamping polish that I got in my Born Pretty Store Haul and add a leave design to my nails to give them the autumn look. I first tried making a decal as you can see below, but I ended up with simply stamping directly on my nails wich worked perfectly.
As you can see I used some red and yellow as well as a light and a darker green polish to stamp on my nails. I just applied a few drops of each colour to the pattern and scraped over it a few times. Not too often though or it would all end up in a brown mixture.
I finally sealed them in with Seche Vite to protect my design. I ended up wearing this manicure for four full days with only minor tipwear. The Holo Dimension polish really amazes me. They really did a great job with this new line. I love the formula and the durability.
As far as I'm concerned it's time for fall to come! I love it when the leaves are changing colour.
Are you ready for autumn to arrive? Have you done some fall manicures?
How do you like my stamped leaves?

You may also like:

Samstag, 1. August 2015

Misslyn - edgy

Hello Loves!


This is my last 'live' post before going on vacation tomorrow. I have a bunch of posts prepped and scheduled for the next two weeks so make sure to stop by that my hard work wasn't for nothing. :-D A few days ago I used Misslyn - edgy (11F), from this summer sale haul, as an accent nail and loved it so much that I decided I had to use it in a full manicure too. That's what I want to share with you today.
Edgy is a very dark grey/anthracite crelly polish full of different coloured micro glitter flakies. I see blue, yellow, purple and a hint of green. It is such a beautiful polish!


It would be okay to use two slightly thicker coats for full opacity, but I did use three for this manicure, because I had some minor imperfections after my second coat. If you apply a very thin layer only edgy could also be used as a dark glitter topper. It's glitter density is extremely high and will show up all over the nail even with the thinnest coat possible. It also gives you quite an unique finish.
Edgy is form Misslyns Satin Metal line and dries to a silky, smooth matte finish with some shine left. And a whole lot of shimmer from the fakies.
I added a coat of Seche Vite to seal it in and to make it glossy again. I just like it best that way!


As an accent I picked out drop-shaped rhinestones matching the colours of the flakies. I used yellow, clear, dark blue, light green and light blue ones and placed them near the cuticles. I then used a very liquid top coat to seal them in and avoid bubbles.


Even though this polish is a real beauty I have two points that I need to criticise. First It takes quite long to dry. Even though I added Seche Vite in the end I got some bumps on my thumb hours after painting them. Okay, I did add a more liquide top coat too, to seal in my rhinestones, but that shouldn't cause that effect. And the second thing is that it doesn't last too long. It hasn't been a full day of wearing the polish and I already have bald tips.

Taking all that into consideration I would still buy this polish again!

Do you have anything similar in your collection? 

You may also like:

Dienstag, 24. März 2015

Maybelline Color Show - Tutti Fruity

Hello Everyone!

Happy Tuesday! It is such lovely spring weather outside and I'm in need of a sparkly pink right now. So today I want to show you Maybelline - Tutti Fruity from their Color Show line.
Tutti Fruity is a baby pink crelly polish with a bluish pearl shimmer and a few iridescent glitter flakies in it. Just the right thing for a day like this!
Under LED light, the blue shimmer stood out best. The formula of Tutti Fruity is good, very sheer, but easy to apply. I used three to four coats for this manicure and there is still a visible nail line.

I even caught a bit of sunlight on my balcony this morning. (Too early for direct sunlight though.) In this lighting the polish looks more like a lilac or purple. The shimmer and the base colour blend together somehow. :-D


I think it is really pretty, but next time I will try layering it over another creme polish, to cover that nail line up completely. You may by now know, that I'm not the biggest fan of a VNL.

What do you think of this polish? Isn't it just perfect for spring?

You may also like: