Posts mit dem Label 4th of July werden angezeigt. Alle Posts anzeigen

Freitag, 31. Juli 2015

Recap - July Favourites

Hello Lovelies!

Can you believe that July is almost over? I really enjoyed this month quite a lot and created some lovely manicures, that's why it was hard for me to decide wich were my favourites - again. This month I picked four plus a bonus one from my 4th of July manicures.

Dark Grey with Simple Flower Accent (July 22nd):

Cherries (July 18th):

Rainbow Gradient for Christopher Street Day (July 11th):

Sunset Gradient & Palm Trees (July 6th):

An Ode to the American Flag (July 3rd):
I really hope you like my picks for this month. Wich manicures would you have picked?

You may also like:

Samstag, 4. Juli 2015

July 4th Manicures pt.3

Hello Lovelies!

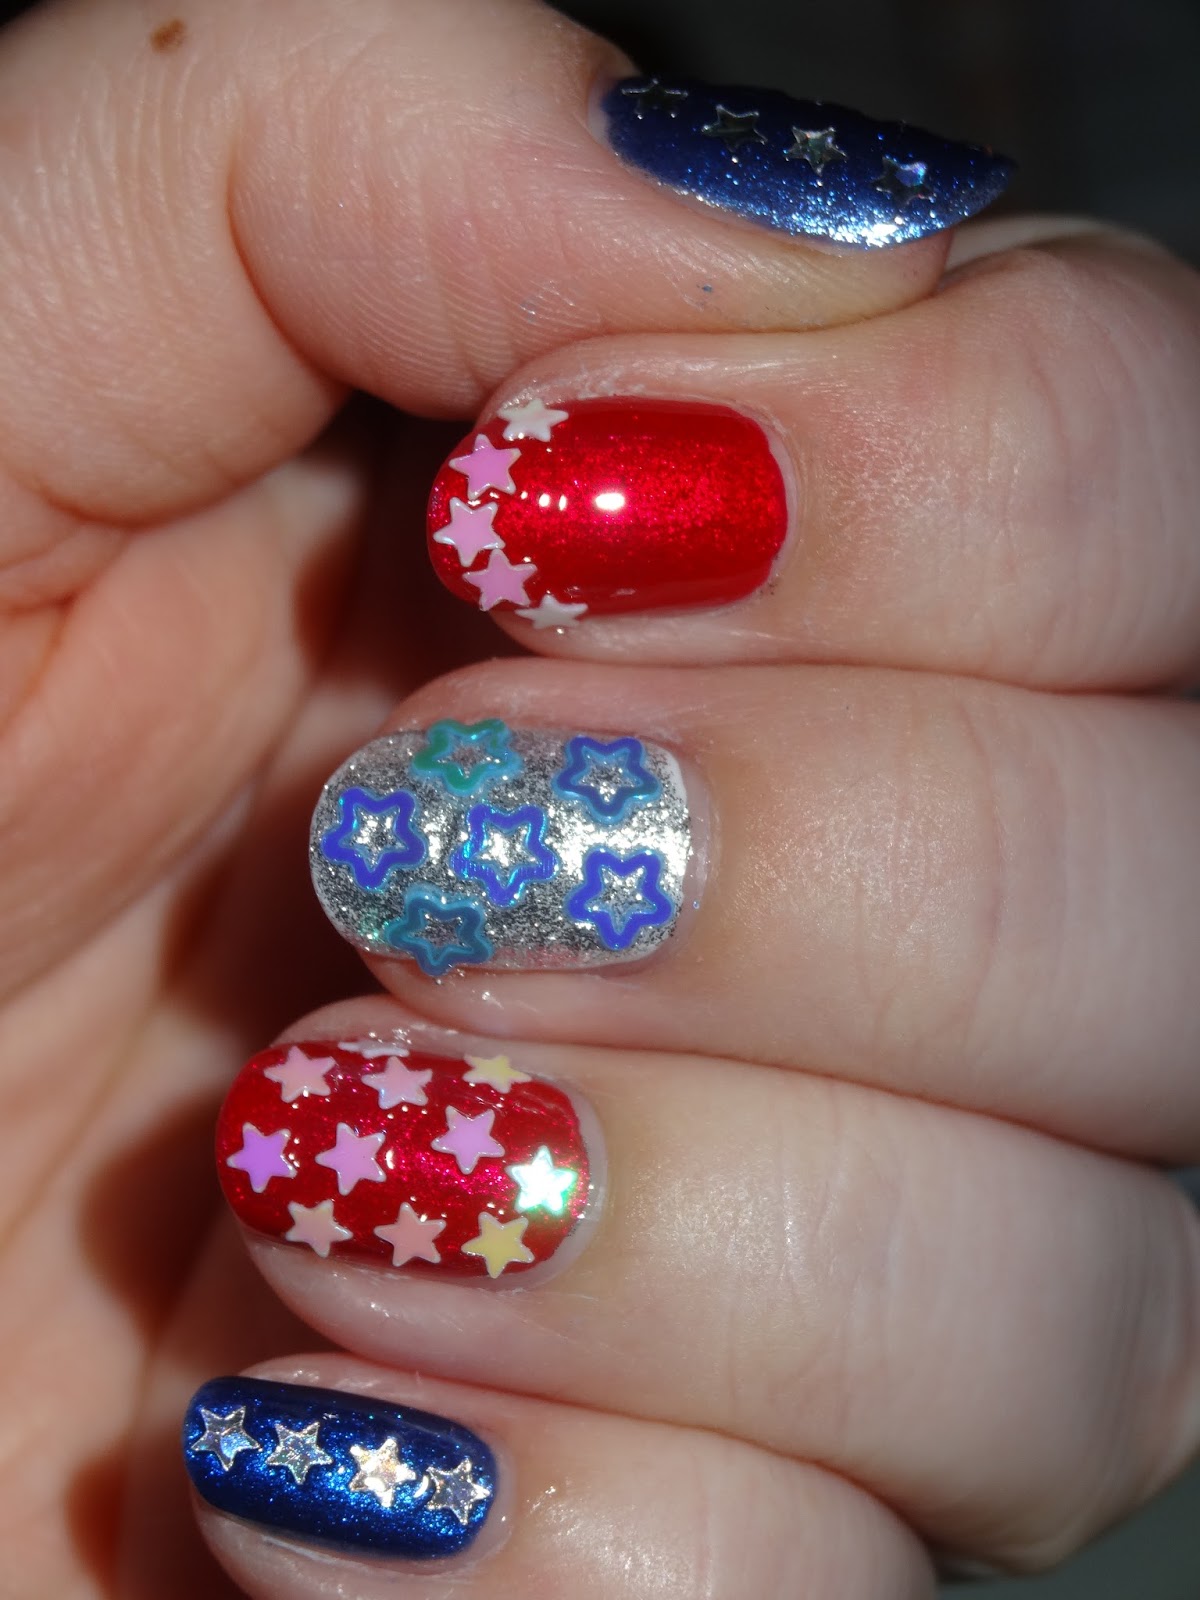
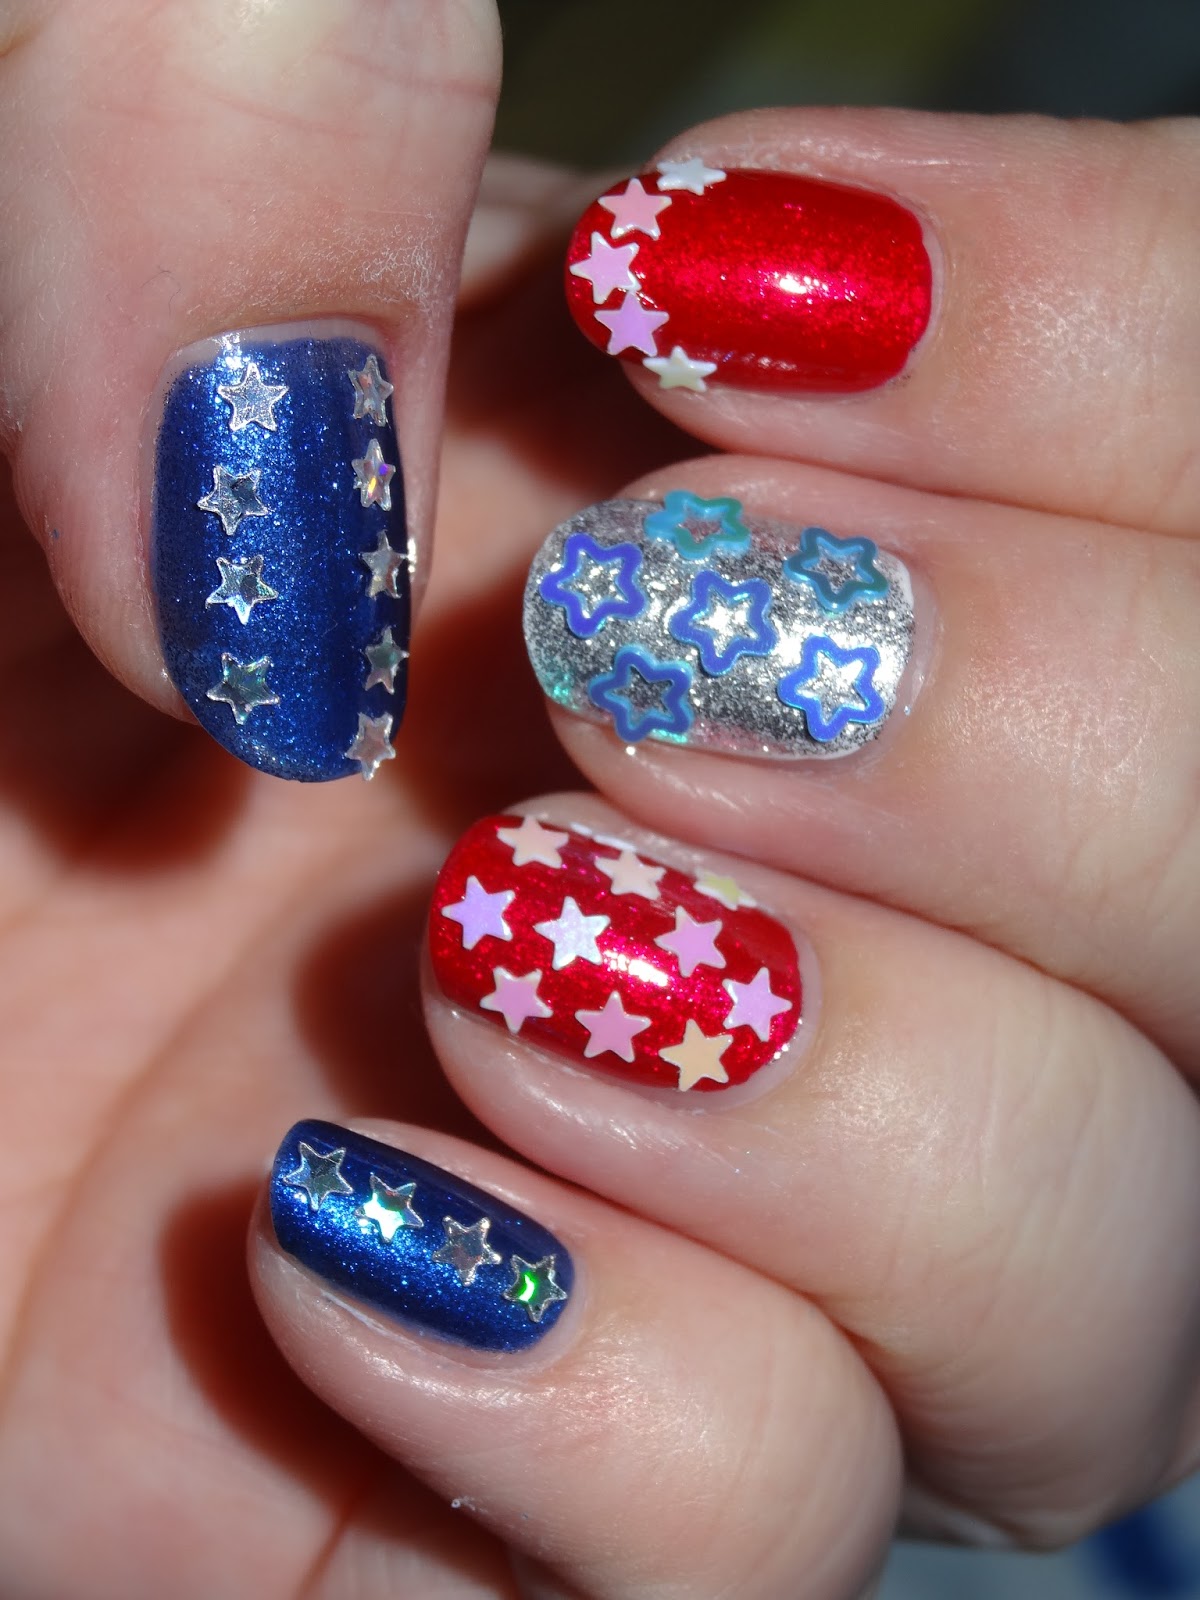
How are you today? I hope you are all enjoying this wonderful Saturday. Today is the big day, the 4th of July and I have my final two manicures to share with you. The first one is an easy one with different glitter stars.
I started with one coat of Ruby Kisses - Silver Bling to give the colours some extra shine and one coat of Wet 'n Wild - French White Creme on my middlefinger to give the silver better coverage. The red is essie - Russian Roulette and the blue is Ruby Kisses - Blue Pearl. I only added one very thin coat here so the silver can shine through. I think this looks gorgeous on its own. You could leave it at that.
I bought all these polishes (except for the white one) in my huge polish haul a few weeks back.

And then I just added some glitter stars to my manicure. With the silver ones that I used on the blue, I tried to make straight lines to represent the stripes in the flag. I didn't think about that when I did the others, but it is a great way to make stars & stripes happening on your nails all at once!

Some of these stars are really big and I have a relatively distinct C-curve so they don't lie flat on my nails. It is important to seal them in very well, or you might loose the stars. But be careful with your topcoat. Bubbles may form with all these edges. I decided not to use a thick topcoat like Seche Vite but a more liquid one. 

I really love how easy it is to do a design with just a little glitter. Everyone can get creative like this! I hope you like it too!

Stay tuned for my final 4th of July manicure!

You may also like:


Freitag, 3. Juli 2015

July 4th Manicures pt.2

Hello Sweeties!

Here I am with my second 4th of July manicure for the day. A French Star Tips Manicure. Let me show you how I did it.

You could just do a regular stamping, but I find it hard to place the tips straight on from the stamper. They always look crooked and uneven and don't line up with my nail line. So I decided to make some decals indtead. Therefore you need to let the image dry on your stamper for a minute or two and then apply a thin layer of topcoat to your stapmer. I find that a more liquid topcoat is best for this step in order to make the decal really thin. I would not recomment using a thicker one like Seche Vite.
Once that is dry after 30 minutes to an hour, you can carefully peel it off. I found that the flat side of an orange stick helps with that. I gently press the stamper down on the sides until the polish starts pulling and then use tweezers or my fingers to pull it off. Then you need to cut off the excess of topcoat.
 Before pulling the decal off, paint your nails and let them dry. They should still be a bit tacky to make the decals stick, but not too much so cou can replace and move them if necessary.
To finish your nails remove the rest of the decals. You can press it down with your nails on the sidewalls or use an orange stick for that, until it breaks and comes off. For the tip I usually just pull down the overlap until it comes off (be gentle or it will move on your nail!). And then I use an acetone soaked clean up brush to remove what is left. Use topcoat to seal it in.
I did my ringfinger first and used essie - Avenue Maintain for stamping, but it was to light on my nails so I switched to essie - mezmerised. I like the darker blue better, but lets just say the ringfinger is a light blue accent... :-D 

Since I always like my manicures a bit sparkly, I added china glaze - Techno to the white parts of my nails.
  

You may now say, that this manicure is missing the red to be perfect for 4th of July, but I know that not everyone likes red polish and also stripes, so I thought this would be a good alternative.
I hope you like it!

What are you going to wear on your nails tomorrow?

You may also like:

July 4th Manicures pt.1

Hello Loves!


As you know I am from Germany, but I still wanted to do something to celebrate the 4th of July with all the Americans out there. The colours are just great and call for some manicures! I was actually planning to post one 4th of July manicure every day from July 1st-4th, but I just couldn't make it those past two days so I will show you two manicures today and two tomorrow. Lets get started with an interpretation of the American Flag.
I started painting my nails red with a blue accent on my indexfinger (essie - mezmerised).
The red I used is Douglas Absolute - Anna (02), a gorgeous, luscious deep red with an amazing formula and wonderful coverage. It was almost opaque in one coat, but for perfect coverage I used a second coat.

 Using a dotting tool and some white nail polish with good coverage, I added small dots to my blue nail to represent the stars. With a fine nail art brush I added white stripes across my red nails. And there we have it - a stars and stripes flag manicure.


 I then added a bit of china glace - Fairy Dust for some sparkle. The striped nails kind of remind me of candy canes. Imagine the stripes were diagonally...
My freehand nail art skills still lack quite a bit of precision and so the stripes are not as even as they should be, but I still like the outcome.

Have you done any 4th of July manicures or are you planning to do one tomorrow?

You may also like: