Posts mit dem Label brown werden angezeigt. Alle Posts anzeigen

Sonntag, 6. September 2015

flormar nail enamel - Blackstar Red

Happy Sunday Beauties!

How are you today? Is it still hot where you're at or is it getting colder like here in Munich? Today I want to show you an autumn manicure. A few days ago I showed you my tribal accent nail in combination with claire's - Splash. This lookes very summery but I wanted to try a different look and went with one of my new flormar polishes: Blackstar Red (352).
Blackstar red is a deep auburn creme polish that is just perfect for the upcoming season. I love how beautiful this red with the brown touch looks and I love, that it looks good on me. What do you think? 
Also Blackstar Red has an amazing formula and is almost opaque in one single coat, but just to make sure everything is picture perfect I used two coats for this manicure. And look how shiny and glossy it is without a topcoat. Fantastic! This polish didn't require any cleanup and spread evenly. 
As you can see there is also a bit of red in my tribal accent nail. I did use the same polish, but only applied it once so it looks more red than on my other nails. I still think this colour goes perfectly with the homemade decal.
How do you like this combo? Are you ready for autumn yet or yould you prefer to see some more summer manicures? Have a wonderful day!

You may also like:

Montag, 24. August 2015

claire's - Matte Yellow & Autumnal Gradient

Hello Everyone!

How was your weekend? I wasn't feeling well and didn't even have the energy to blog. Sorry for the unplanned ansence! It has been a while since I shared my set of claire's matte polishes that I bought in my Christmas Haul. So today I finally want to show you the yellow one on my nails.
This polish has a beautiful colour wich is perfect for summer. It is somewhere between a lemon and a sunflower yellow. The formula is good, but you have to shake the bottle a little bit befor doing your nails. I don't know if that is because of the matte finish, but if you do that you won't have problems with application. Otherwise it will be streaky, because the oily components separate from the rest.
For these swatches I used two coats directly on a base coat. I probably should have added a layer of white first to make the yellow pop even better. 
There were still a few imperfections, but the bottle is so small and I didn't want to use up any more polish, because I wanted to add another colour to my tips anyway.
As I have mentioned a few times this summer, we had quite hot weather here in Germany. So most of the trees already have many brown and dried leaves wich gives the landscape an autumnal look. This is why I went for the brownish purple gradient.
Using a make-up sponge I applied Misslyn - lilac poison to the tips of my nails fading out a bit towards the middle. With china glaze Techno and Fairy Dust I did the same to give this manicure a little sparkle. The great thing about sponging on a glitter polish is that you get all the gorgeous sparkle but it will not get thick because the sponge soaks up most of the jelly base.


To complete this manicure I added claire's matte top coat to give back the original finish.


I am happy with my manicure and hope you like it too!
Do you have any suggestions of what type of manicure you would like to see on the blog soon? 

You may also like:

Donnerstag, 16. Juli 2015

Dotted Gradient & Ombre Top Coat

Hello Lovelies!

I am back from Austria and I bought new polishes! I will show them to you in a few days when I had a chance to take some pictures. Today I want to show you another gradient manicure wich I totally love lately, but this time it is not a sponged gradient but a dotted one.
As my base for this manicure I used p2 - sashimi ship and added these other p2 shades.
before sunrise - lovely madness - dress + go!
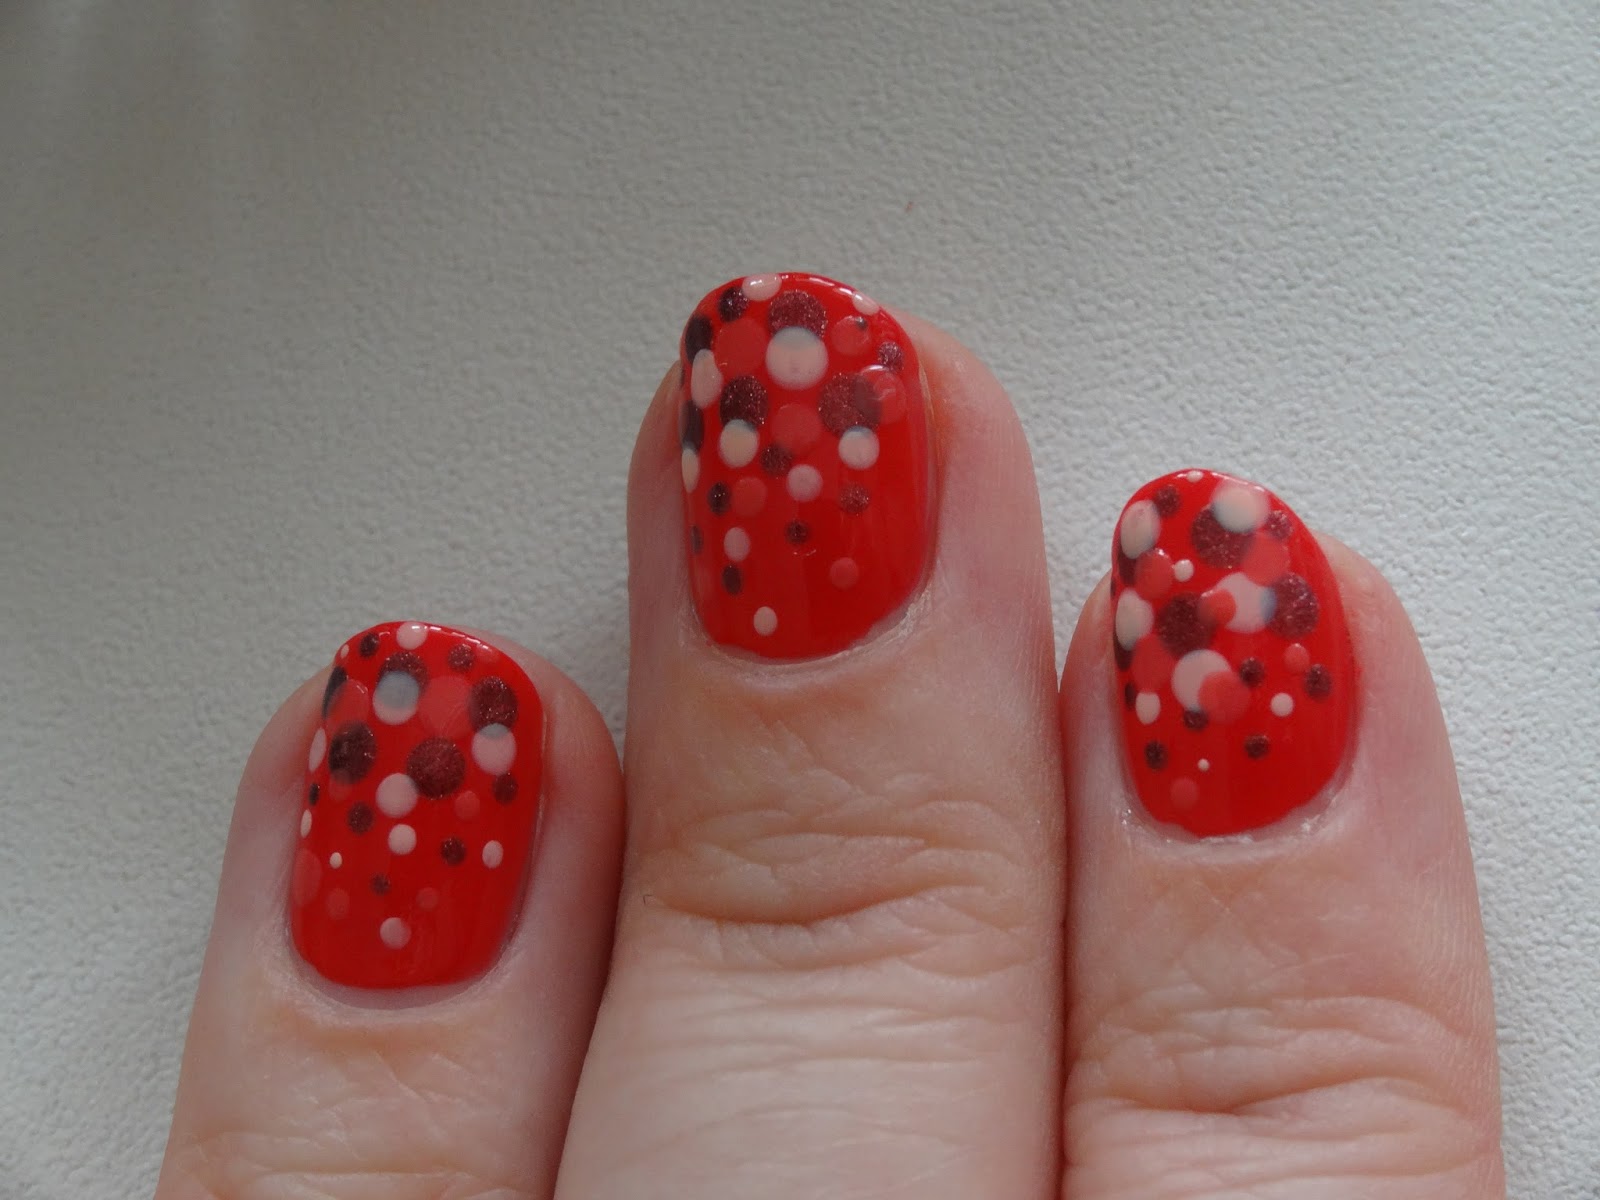
First I made some dots with the larger side of my dotting tool concentrating in the tip area of the nail and then used the smaller side to make little dots and let them fade out going farther down. This creates the gradient and is really easy.
Make sure to let each colour dry a little before applying the next. You want to overlap the dots and they should not get all mixed up.

To blend all my colours together perfectly I added a layer of Seche Vite. I love how glossy the manicure looks now.


I then added the Ombre Top Coat by catrice. But it did not work as well as I was hoping. The colours I used for this manicure are to dark to see the effect properly. If you look closely there is a difference between my thumb (where I did not use the topcoat) and my pinkie (with four layers of the top coat). My pinkie is darker. This is manily visible on the rosy dots of lovely madness.
This topcoat actually is a cool way to do an ombre manicure, but you have to use pastel colours in order for it to show the best results.
Left: indoors with a flash. - Right: outdoors in natural light, no flash.

In my opinion this is a fun and super easy way to make gradient nails and it is a good alternative to a sponged manicure especially for shorter nails where sponging can be quite messy.

I hope you like this manicure! Have you ever done a dotted gradient?


You may also like:

Montag, 8. Juni 2015

Animal Print Series - Leopard


Happy Monday to you my gorgeous readers!

Today I want to show you another manicure from my recently launched Animal Print Series. This is my Leopard.
After applying basecoat (Maybelline) I painted my nails in two different base colours. On my pointer  and ringfinger I used  two coats of china glaze - White On White and on my others I applied two coats of Maybelline Color Show - Mauve Kiss.
With a nailart brush I made a diagonal line across my white base and filled in the tips with one layer of Mauve Kiss. Using a dottingtool I created a random pattern of brown spots using Maybelline Color Show - Midnight Taupe (549) on my nude base. With a fine nailart brush I partially outlined them with Wet 'n Wild - Black Creme and also filled in a few bald spots.


To give this manicure a little sparkle, I filled in a few of the brown spots with OPI - 50 Years Of Style and added some rhinestones in gold, white and black to contour my diagonal lines. Then I applyied my Seche Vite Top Coat for extra shine.


I really love how this turned out and am quite happy with the outcome.

How do you like this manicure? Are you a fan of animal prints?

You may also like:
Flag Counter

Mittwoch, 3. Juni 2015

Maybelline - Color Show - Mauve Kiss


Hello Everyone!

Today I want to show you this Maybelline Color Show polish by the name Mauve Kiss (150).
Mauve Kiss is a light brown creme polish with an excellent formula. It is almost opaque in one coat, but I still used two for these swatches without any base or top coat. Judging by the name I expected the polish to have a hint of lilac to it but that is absolutely not the case.


This lovely nude polish is ideal to wear year round especially with nailart ontop of it. 


I think it looks good with my skintone so I will definitely use it again!

How do you like this polish? Do you wear colours like this on their own or do you prefer them with a bit of nailart?

Dienstag, 2. Juni 2015

Animal Print Series - Tiger

Hello Beauties!

My goal for June is to try out a couple of new manicue techniques or to make a decent manicure out of some I have already tried and failed miserably... :-D So let me introduce you to my new Animal Print Series starting with a Tiger pattern.
This manicure is actually quite simple. You could just do it ontop of a monochrome orange background, but I decided to make it look more like a tiger skin by adding some different colours. 
I started off with some Maybelline base coat and two layers of china glaze - White On White. Using a tiny piece of make -up sponge and some tweezers I dabbed on yellow, orange, two types of brown and a little white. With a fine nailart pencil I added black tiger stripes.

The polishes I used for this mani are Wet 'n Wild - Black Creme, NYX - My Sunshine, Pop Culture and Deep Brown as well as OPI - Get In The Expresso Lane and china glaze - White On White. I Also sealed it in with a generous layer of Seche Vite Dry Fast Top Coat.
I didn't quite like how the pattern looked on my thumb so I thought I could make a Tiger face out of it, but that didn't turn out so well either. He looks kind of cross-eyed and just weired. I think the green rhinestones I used were too big.
Aside from my thumb I am very happy with this manicure and like the way it turned out.

What do you think? Would you like to see more animal prints on the blog? Let me know!

You may also like: