Posts mit dem Label birthday werden angezeigt. Alle Posts anzeigen

Mittwoch, 26. August 2015

Catrice - Get Boho In SoHo & Water Decal Fail

Hello Sweeties!

How are you today? A while back I showed you the Mickey Mouse manicure I did for my Fianceés nieces birthday and talked a bit about what I was wanting to do originally. 
I've been meaning to wear these water decals with the gorgeous rainbow swirl and after working quite a while on getting them on something really bad happend, but let's get to that in the end. First I want to show you swatches of Get Boho In SoHo by catrice.
Get Boho In SoHo is from the Satin Matt Collection (05) and has about the same formula as Minty Memories. It is very tricky to apply and the first coat goes on extremely streaky. It easily bubbles and shows brushstrokes. For this manicure I used two coats.


But I really like this polish even though it is a little troublemaker. Especially for what I had in mind it was perfect with the unobtrusive shimmer. It gave me a wonderful background for the rainbow swirl decals. (I like that better than just a plain old white polish.)
I carefully cut the water decals out, placed them in water and on my nails one by one and once I was done with all ten nails I applied a generous amount of Seche Vite to seal it in. My left hand was done and I went on to do my right hand, when I realised, that the decals started to flow to the sides. I don't know if this was due to the hot weather or if I simply was too generous with the topcoat, but it was aweful and there was no way to save this manicure. I had to take it off immediately after working on it for quite some time. I really was angry! (Mostly with myself of course...)
Have you ever experienced something similar to this?
How do you like this colorful decal? I am so glad I snapped a picture before I applied the top coat. Otherwise I wouldn't even have been able to show you what it could have looked like.

You may also like:

Mittwoch, 29. Juli 2015

kiko 240 - Apple Red & Mickey Mouse Manicure

Hello Loves!

Last week my fianceés niece had her fourth Birthday and I was the designated photographer for the party. First I wanted to do a colourful rainbow water decal manicure for the occasion, but it went all wrong and I had to start over and come up with something new. (I will show you my big fail a bit later.) After twisting my mind for a while and browsing the web I came up with the idea to this Mickey Mouse manicure that was inspired by several pinterest pins.
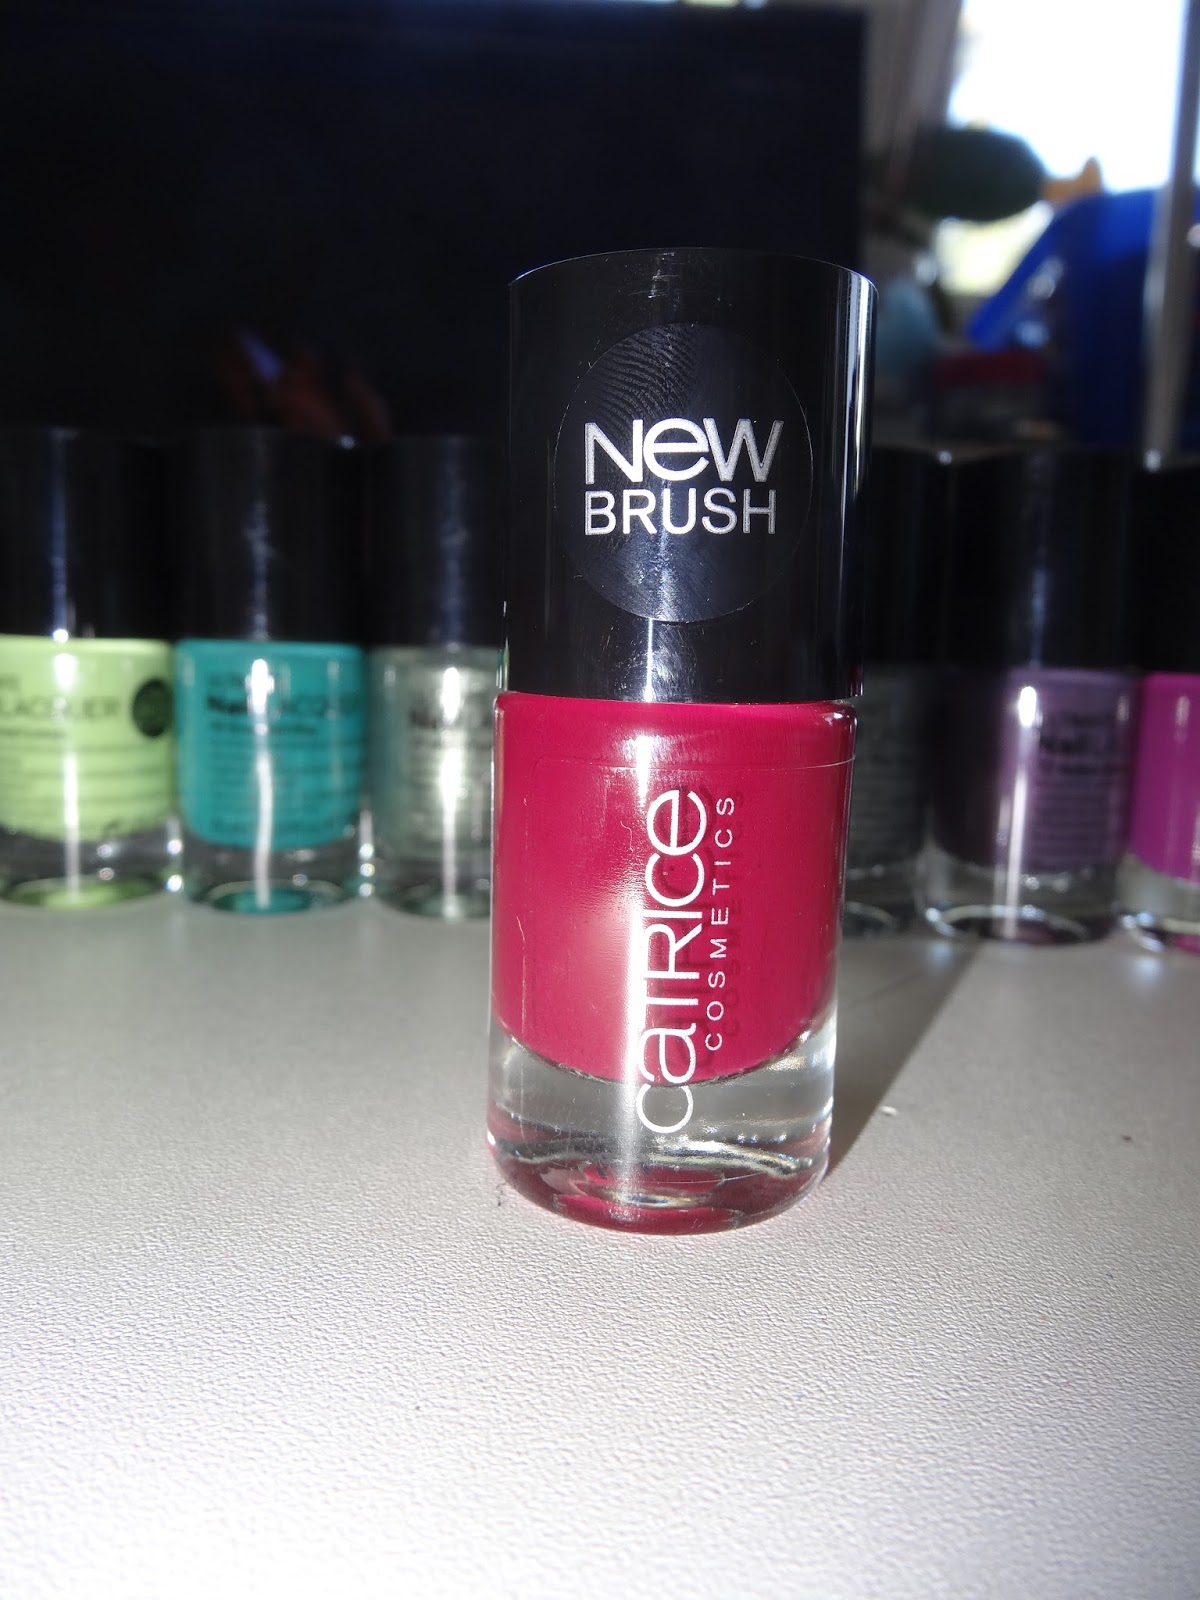
As a base for my red nails I used kiko - Red Apple (240) wich is a fantastic polish. It is opaque in two coats, dries quickly and applies smoothly. For my white nails I used cartice - Get Boho In SoHo, wich I will show you with my rainbow water decal fail. (Both of these polishes are from my huge Salzburg haul.)
On my index- and pinkiefinger I used NYX - White to make polkadots. Sadly I got some streakes on the indexfinger, but I guess it lookes still okay. On my ringfinger I used a dotting tool and a nail art brush to create the large Mickey Mouse head shape in the corner with s-he stylezone -296.
I then added some black rhinestones to the upper part of that nail to make a small Mickey head and did the same by using different sized clear rhinestones on my middlefinger. My thumb was a bit more tricky, but I managed to draw a decent Minnie Mouse bow. My niece liked it, but she was so busy playing with her friends and opening her presents she didn't really care... :-D But I know what I did and I know you are going to acknowledge my hard work!
So I hope you like my girlie Birthday manicure!

You may also like:

Sonntag, 12. Juli 2015

ON SALE - Polish Haul

Hello Beauties!

While I was shopping for a birthday present for my mum this week, I discovered, that there were many polishes on sale in the drugstore. I could not resist buying a bunch of them! Here is a quick overview.

Catrice Luxury Lacqueres - Liquid Metal - 07 Be My Mermaid, 06 LilacLike and Million Brilliance - 03 Let's Get Lost In Vegas. The Liquid Metal polishes have a matte finish. These were all 50% off.
Misslyn mini polishes 304 & 350 (no names on the bottle and Satin Metal - edgy (11F). These were 20%-25% off.
These Beauties I bought at their regular price. They are from the p2 Beyond Lagoon LE and I was lucky to still get them. I almost missed this wonderful collection. I got 
underwater blue - seaweed green - atlantis purple
The folder has such lovely pictures in it, I just had to show you some!
This amazing OPI polish was 25% off. It still was 12€, but I had layed eyes on this beauty a while ago and could not restist. This is Go with the Lava Flow from the current Hawaii collection spring/summer 2015.
This is the only catrice polish I bought regular. the others were all 50% off. This is a new colour and is called It's A Very Berry Bash (94). And here are the others:

Blurred Limes (80) - Emerald Bay (78) - MRS. Flashdance (77)
C U At Limessquare (76) - Mint The Gap (63) - Auber-Genious (72)
Inner Purple Of Trust (53) - Where is my Ferrari (52) - Have An Ice Day (03 Million Styles Effect)
And some swatches of all my new catrice polishes including the glitters from the top.

I am so happy with my new polishes and will start swatching them when I am back from my trip to Austria. I hope I will find some great bargains there too! :-D

Have a wonderful Sunday!

You may also like:

Donnerstag, 9. Juli 2015

Black Flowers Hand Painted

Hello Sweeties!

Today my mum and aunt (yes, they are twins) are celebrating their birthday. HAPPY BIRTHDAY! I wish I could be there, but we will celebrate on the weekend. I wanted to do a special manicure anyway and so I came up with this hand painted flower design. I included a little picture tutorial below.
The background is the glitterbomb gradient manicure that I showed you yesterday. 
-With a fine nail art brush I painted on four lines like you would for a spider web.
-Then I outlined my nails and drew curved lines on each side of every straight line to connect two of them to a petal shape. 
-Now I painted tiny lines in the center of each petal and filled in the gaps between the petals.

-To finish this manicure I used a toothpick and picked out white and pink glitter hexes of essence - lovely, maybe and placed them in the center of each flower. 
-Last but not least I added a layer of Seche Vite to bring my manicure together and blur the lines a bit.

The black I used for this manicure is essence - the black cat. I used a drop of polish thinner to make it more liquid and easier to apply with the nail art brush, and mixed them well on a little plastic palette.

I am totally in love with these flowers. It took a little time to make them, but they are worth the effort.

I hope you like them too! If you give them a try, I'd love to see your manicure.

You may also like:

Montag, 29. Juni 2015

Birthday Party Balloon Nails

Hello Lovelies!

I hope you had a great weekend! Lets start this day with a fun manicure I created last week for my finceés nephews birthday party. He turned two so I wanted to do something fun. And who doesn't like Balloons?
For this manicure I used a basecoat, one layer of NYX - White and then sponged on a gradient in blue and white using essence - let's get lost (128) and Mountain Calling - 01 TODAY IS FUNDAY (LE) and give me nude, baby! (152) as well as NXY - White.
I then added a layer of essence - bejeweled (12) a holo jewel glitter polish with a soft bluish purple shimmer and a few translucent iridescent hexes in different sizes in it. I then sealed it in with Seche Vite to protect it and to give the manicure dome depth wich makes the balloons look like they are floating in the sky.

To make the balloons I used a dottingtool and added an oval dot of each colour to my nail with a little triangle at the bottom. Using black bolish and a fine nail art brush I encircled the balloons to make them stand out better, added a little line inside and a string. On my thumb I additionally added white underneath the colour so the yellow gets good coverage. It was also easier to choose the position of the small balloons without having to think about the colours.
And here is everything you need for this manicure. A make-up sponge, a dottong tool, a nail art brush, a cleanup brush and an orange stick. Black and white polish, blue polish and a shimmery glitter topper and an assortment of your favourite colours for the balloons as well as base and topcoat.
The colours I used for my design are Wet 'n Wild - Sunny Side Up, esence - juicy love (187), let's get lost (128), free hugs and beijos de brazil (170).
The last step was to seal it in with Seche Vite again to protect my carefully painted design.
I really love, that this manicure turned out exactly the way I planned it. The balloons look like they are floating in the sky and the gradient gives you the feeling of soft white clourd and a blue sky above. The pearly glitter totally fits and brings everything together.
Without the balloons on top the shimmering gradient would also make a wonderful winter manicure. it reminds me a bit of falling snow. You could paint or stamp some snowflakes on et voilà you have a gorgeous snow themed manicure.

I hope you like this cute design. The birthday boy did and so did his sister. They wanted to touch them all the time and asked: Why are there balloons on your nails? :-D I said: What is a party without balloons?

You may also like: